 |
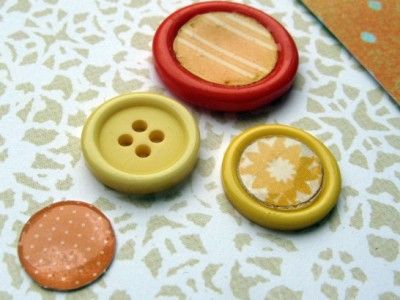
| Orange Button created with Diamond Glaze |
First off, I punched some circles from patterned paper scraps and then matched up the circles with various buttons from my collection. A layer of Diamond Glaze on top, left overnight to dry and I had a shiny, but not very domed layer in the centre of my button ... plus quite a few tiny bubbles in the glazed layer. Not quite the effect I was wanting and far too time-consuming!
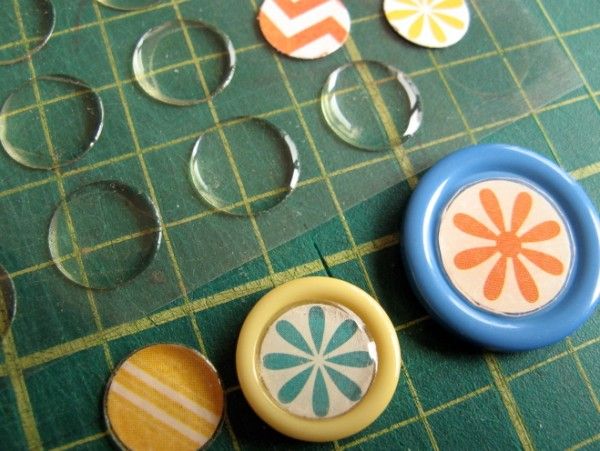
It was much quicker and easier to use my ancient Papermania acrylic domed stickers - especially the ones that exactly matched my smallest circle punch!
 |
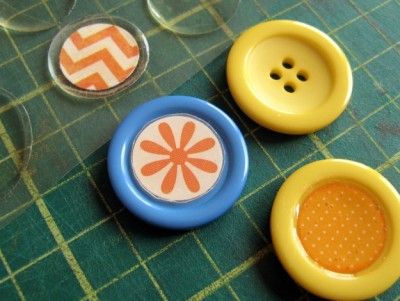
| Punch circle, stick to acrylic domed sticker, secure to correct sized button Simples! |
 |
| Yellow Button created with Diamond Glaze |
From above, the domed stickers and the Diamond Glaze look pretty similar (you hardly notice those tiny bubbles), but the domed stickers certainly win for speed and simplicity (and using up old stash)!!
aren't these cute! love them - I would never have thought to counterfeit these buttons!
ReplyDeleteThey are fab Jem! & have now been pinned :)
ReplyDeleteThey both look great - but I'd definitely choose the easy option myself, I'm with you there!!
ReplyDeleteI think they are lovely, both kinds: I might need to see if I can pick up a little bargain circle punch somewhere and give this a go
ReplyDeleteUsing up old stash is always good. Some of my epoxy stickers have warped, I'll have to heat them to see if they flatten and give this a try.
ReplyDeleteAren't you clever?....I'm sure I have some old epoxy stickers somewhere..must go find them!
ReplyDeleteAlison xx
Great use of old stash, must get mine out too :)
ReplyDeleteI was only thinking the other day how many buttons I have that need to be used up
ReplyDeleteFun buttons to use for embellishments now!
ReplyDeleteBTW - finally posted about my meager decluttering activities today (nowhere near 55 bags, but it's a start).
Most ingenious and very neatly done too!
ReplyDeleteI have some of those ancient domes too. This is the kind of thing I use them for, along with flower centers. I can't believe that there is a company that now make these along with a punch to match. They are a huge seller in our store and I think they are a bit of a gimick.
ReplyDeleteThey look nice! Oddly enough I have some of those dome stickers & I was never a paper scrapper so I have no idea why I bought them.
ReplyDeletefabulous idea and buttons
ReplyDeleteI've just bought some of the domed stickers to do just this! Fun to see it here on your blog when I'm finally getting time to read :)
ReplyDeleteLove it!
ReplyDeleteOh I love them ! I did the same with wood buttons to mimic the glazed ones by Crate Paper, but didn't think to use colored buttons !! Now, I will have lots more possibilities, thanks for sharing !
ReplyDelete