Tuesday, 24 December 2013

Festive Greetings!

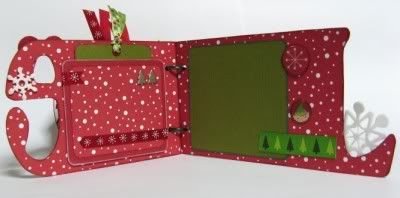
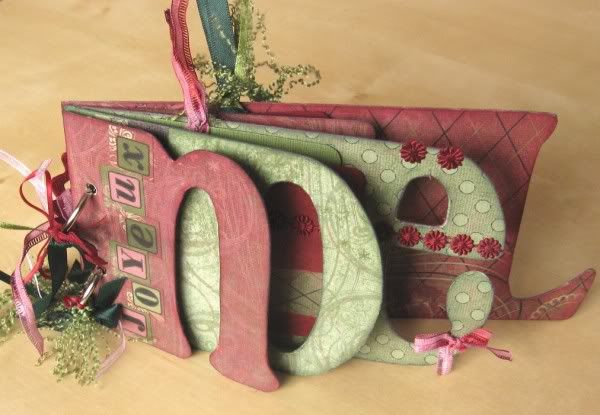
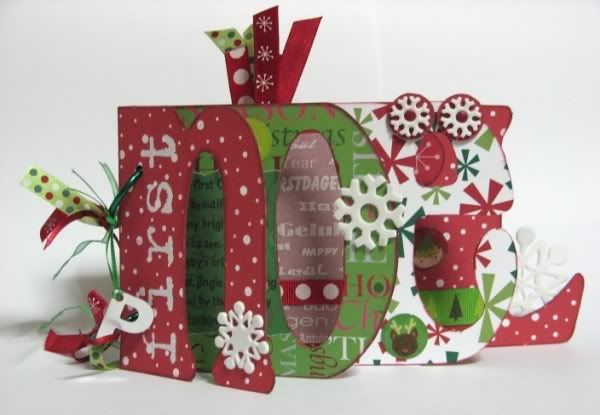
Over at the Counterfeit Kit Challenge Blog today* I've shared a couple of sketches for scrapping some of the many photos we'll be snapping this festive season.  If mini-books are more your thing then perhaps you'd like to give a home-made word book a try ...


I made that one back in 2008 as a present for a friend's photos of her first grandson's first Christmas. I made another one a couple of years later to fill with quotes and festive photos as a family gift.  It had extra pages between the letters to allow for extra snapshots.


While I was making it I took step-by-step photos and put together a set of instructions - originally published in 2010 on UKScrappers, but you can download them directly here and see some more inside pages here.  The instructions are for the word "NOËL" but they are easy to adapt to "XMAS", "2013" or indeed any other word, long or short!  Let me know if you have a go!

Merry Christmas Everyone!!

* A slight scheduling faux pax on my part means that this post went live 2 days early - so that CKCB post isn't there until Christmas Eve! Sorry!

Saturday, 14 December 2013

Tagxedo New Year

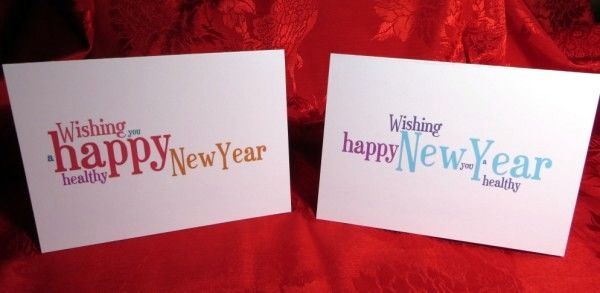
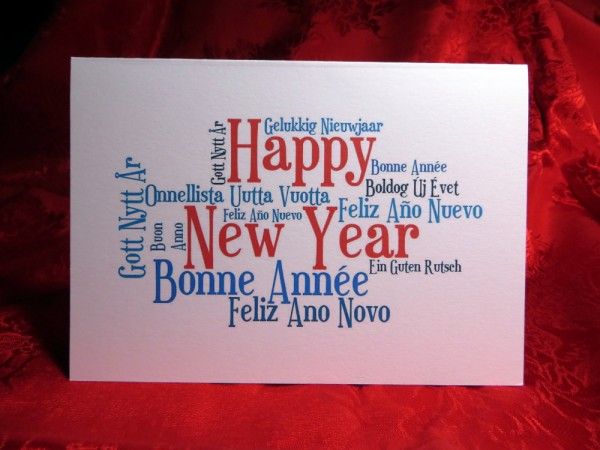
Jimjams - Tagxedo Happy New Year cards Today over at the Counterfeit Kit Challenge Blog I have a post about making VERY quick Tagxedo New Year's cards

If you like Tagxedo as much as I do you may want to play around with it to produce something a little more complicated.

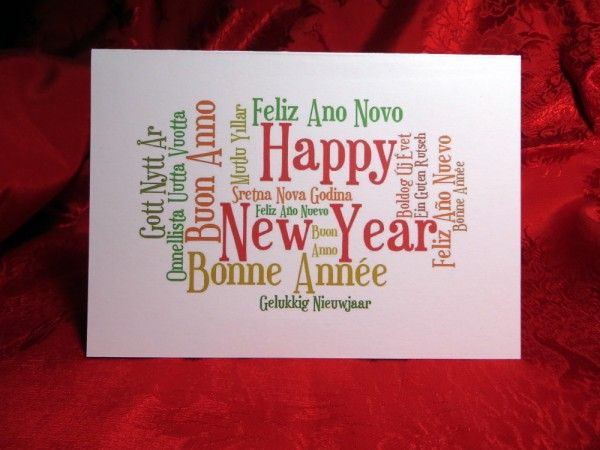
I searched for multi-lingual versions of "Happy New Year" and plugged them into Tagxedo to produce this multi-lingual card:

Jimjams - Tagxedo Happy New Year card

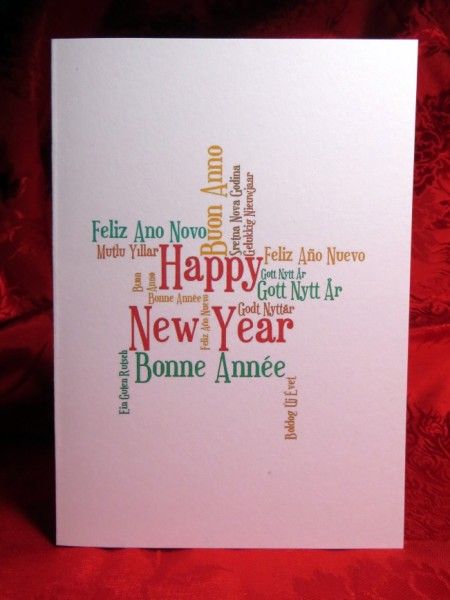
Ring the changes with a different colour-way and layout:

Jimjams - Tagxedo Happy New Year cards

Or change the shape:

Jimjams - Tagxedo Happy New Year cards 

I used the following words for all three cards:
Gelukkig~Nieuwjaar Bonne~Année Buon~Anno
Ein~Guten~Rutsch Feliz~Ano~Novo Gott~Nytt~År
Feliz~Año~Nuevo Blwyddyn~Newydd~Dda Onnellista~Uutta~Vuotta
Mutlu~Yıllar Godt~Nyttår
Sretna~Nova~Godina Boldog~Új~Évet

Gelukkig~Nieuwjaar Bonne~Année Buon~~~Anno
Ein~Guten~~Rutsch Gott~Nytt~År
Feliz~Año~~Nuevo

Happy~~~New~Year:20:@0:#ff0000
The tilde (~) characters keeps associated words together, twice (~~) will stop them from being on separate lines, thrice {~~~) will force a line break.  The text in red is the RGB code to make the words "Happy New Year" appear in red!  The 20 forces "Happy New Year" to be the biggest phrase and the @0 apparently forces it to be horizontal (though I'm still not convinced)!

The other settings are the defaults apart from:
Respins:
Shape = Oval / Star
Theme = Pi Palette / Quiet Morning / Citrus Wasabi
Font = Euphorogenic
Orientation = H/V

Word:
Remove Common Words = No
Combine Related Words = No
Combine Identical Words = No

Layout:
Max Word Count = 50
Normalize Frequency = Yes
Hard Boundary = Yes
Allow Replication = No
You do need to respin the layouts and colours a few time to find a design you're happy with - but it doesn't take long to save, crop and print once you've found it.  Have fun!

P.S. Use this link to see all my Tagxedo card ideas 

Wednesday, 4 December 2013

Just The Ticket

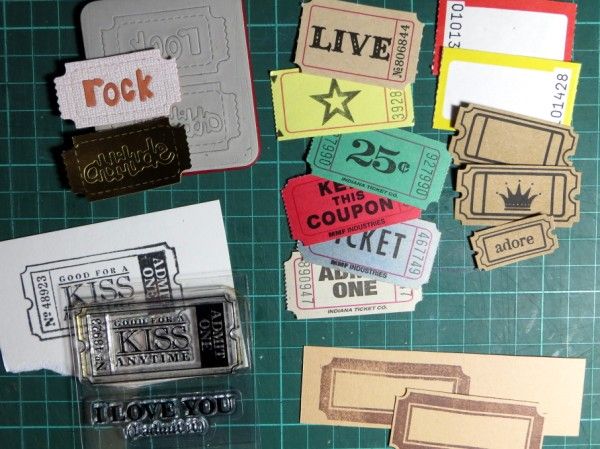
Jimjams - Tickets
There is Daily December Inspiration over at the Counterfeit Kit Challenge Blog at the moment and today it's my turn with a post all about embellishment clusters with tickets.

I adore the way you can include tickets in almost any embellishment cluster, adding a sentiment, a symbol, some colour or a date in a subtle way.

I've included some great links to digi & printable tickets over at the CKCB but I also wanted to include a quick & easy tutorial for making your own tickets from scratch over here.


Cut a strip of cardstock 1" (2.5cm) wide and add faint pencil lines it at 2" (5cm intervals).  Using a sewing machine with a large needle (but no thread), sew across the strip along these lines.  A needle, pokey tool, paper percer or tracing wheel will do the job too, but a sewing machine is quick!


Use a longer stitch lenth if you want to keep the ticket strip intact.  Use a shorter stitch length to make it easy to rip the tickets apart.


Using a hole punch take a semi circle out of each edge of the perforated lines.Some tickets have large holes punched half-way up the perforations as well (like the Maya Road adore ticket above).


If you want your tickets to have an inner frame then make a ¾" x 1¾" (2cm x 4.5cm) template to draw around.

Finally, have some fun decorating your tickets!

Saturday, 30 November 2013

Awesome

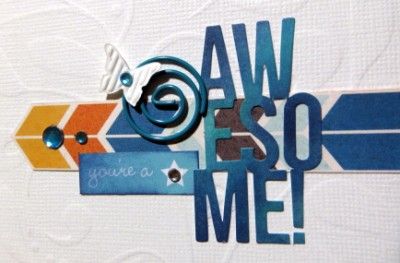
Jimjams - Embellishment cluster
I've had an awesome day!  Brilliant company, great cake (courgette & chocolate courtesy of Lesley) and plenty of scrapping at my monthly crop.  As it was the last one before Christmas we had a Secret Santa gift exchange and extra goodies in a raffle.  A really lovely day.

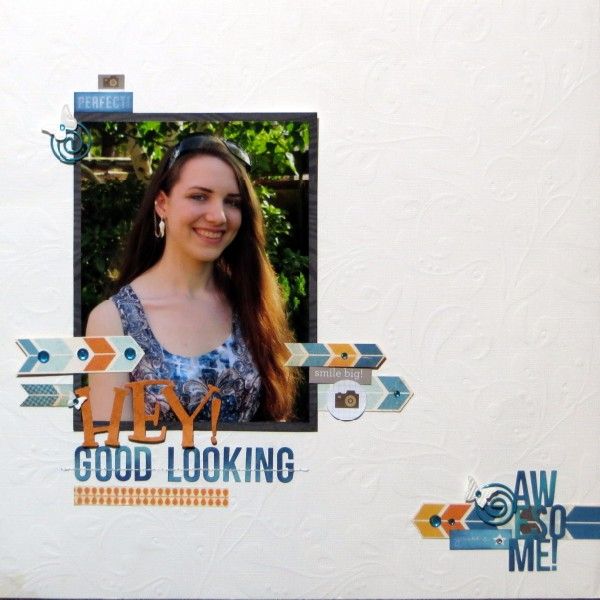
As ever, my scrapping output was fairly minimal (I enjoy the chat as much as the creativity) and I only managed one complete page to share today.  That's Child No.3 in the frame earlier this summer ... a very bonny lass I'm sure you'll agree.

Jimjams - Layout - Hey! Good Looking

The page is based on November's sketch over at Sarah's cards and uses some scraps from my October counterfeit kit (fitting perfectly with a challenge over at UKS to use shades of teal and orangeon a page).  Those teal gems and swirly paperclips were in my the Christmas surprise package on my crop table today - aren't they lovely!

Sunday, 24 November 2013

Thanks But No Thanks

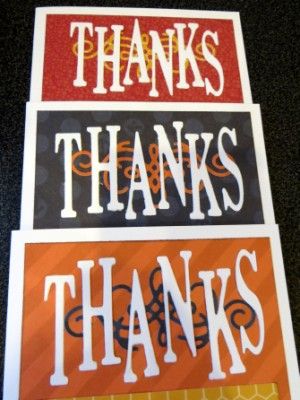
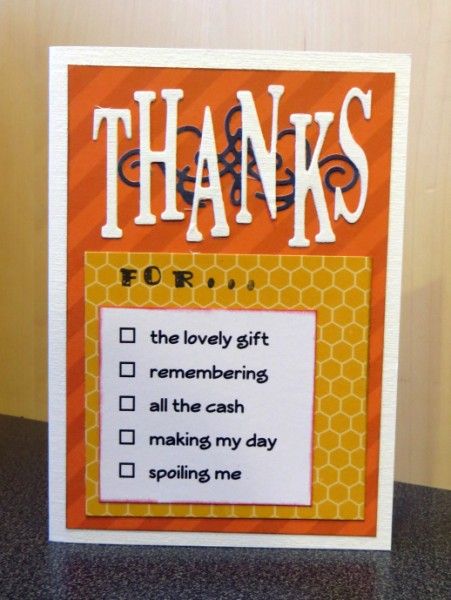
Jimjams - Cards - Thanks for All OccasionsWelcome to the start of November's Members' Blog Hop from the Counterfeit Kit Challenge Blog.  The challenge this month, was to make a little book of thankfulness. Oh dear, I thought.  It's not that I'm not grateful for things, I am.  But I have enough (unfinished) mini-books to last a life time and I need to use my creative time usefully ... so I decided to twist the challenge slightly to my own ends.

Normally around this time of year I am busy with one of my many sisters in law, gathering gift requests and financial donations from Hubby's very large family. There are so many brothers, sisters, nephews and nieces, cousins and spouses that we found it easier to put together a huge pot of money and buy each relative ONE gift on behalf of everyone else.  Far better to get just one decent sized exactly-right present than two dozen much smaller and less perfect gifts.  Each family contributes according to their means and last year the pot was nearly £1000 divided between 34 children and adults.

However this year several families are feeling the pinch and sadly the majority have decided that they will be cutting back and not joining in with extended family giving and receiving.  The end of a very useful family tradition, leaving a big hole in the festivities :-(

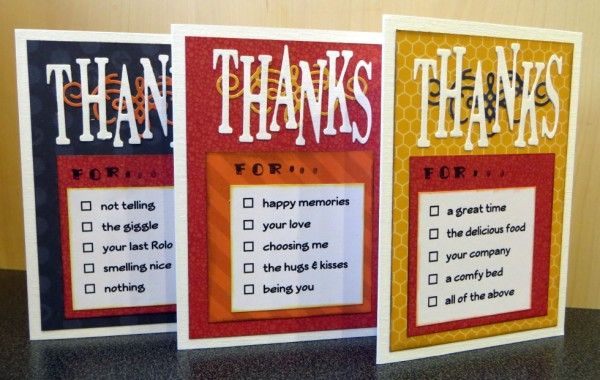
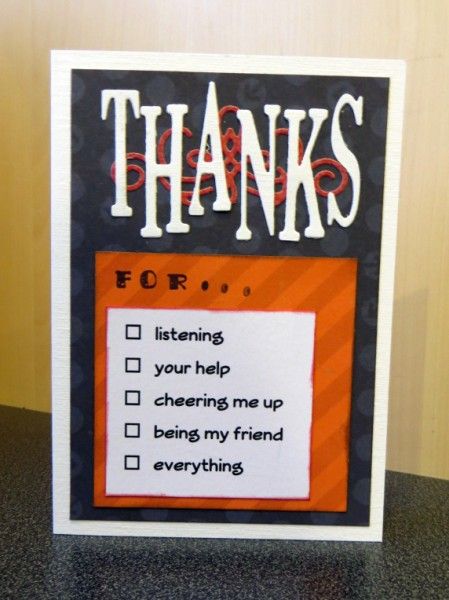
Which is the perfect excuse for me to think outside the box and start making gifts instead ... starting with a set of Thank You cards for a variety of occasions:

Jimjams - Cards - Thanks for All Occasions

Using my November Counterfeit Kit along with some white card, Sizzlits Retro Metro alphabet & Decorative Accent dies I concocted a number of reasons to be grateful and printed them in Veggieburger Font.

Jimjams - Cards - Thanks for All OccasionsJimjams - Cards - Thanks for All Occasions

Hopefully this set of cards will make one of Hubby's sisters happy on Christmas Day.  Now I'm off to look at other creative things to make and package prettily for the other four lovely ladies.  Do you make gifts to give away? 

The next stop on the gratitude trail is Valerie, but if you get lost along the way, the full blog hop order is published on the Counterfeit Kit Challenge Blog today.  Happy Thanksgiving!

Thursday, 14 November 2013

Secret Style Swap

Lisa recently asked the whole Master Forger team over at the Counterfeit Kit Challenge Blog to define our scrapbooking "style" by answering a questionnaire.  She mixed the style sheets up and supplied us each with the answers provided by another Master Forger.  We were then challenged to make a page in the style of our secret swap partner.  I was hoping I wouldn't be required to scrap with too much pink or florals or glitter ... and luckily I did manage to avoid all of those!

Today the Master Forgers are sharing the results of the style swaps and you may have arrived from Dawn (especially if you started on the CKCB here).

While I was waiting for my style swap partner's questionnaire I had a bash at scrapping according to my own answers:
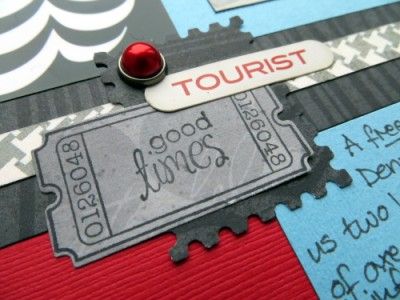
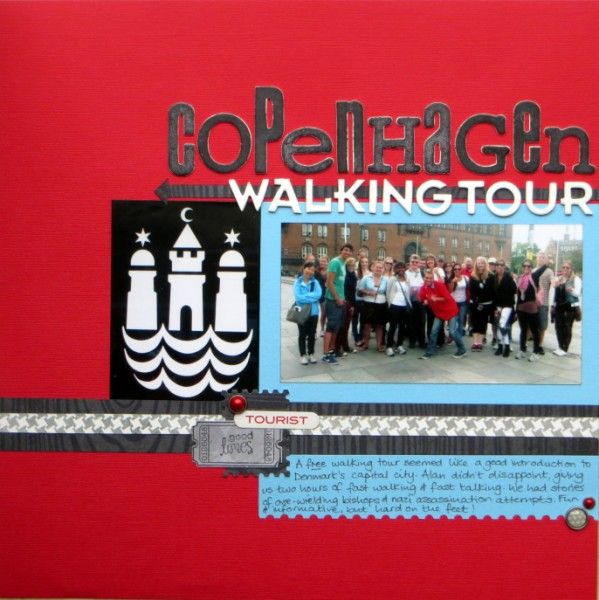
CPH Walking Tour detail photo CPHWalkingTourdetail1400x300.jpg• started with a sketch
  (#6 from Scrapbook Generation's Travel Sketch Book)
• used a colourful, cardstock background
• chose several event-themed, cropped, standard-sized prints
• stuck to straight lines and geometric patterns
• kept things clean & simple with no messy techniques
• placed elements off centre and used visual triangles
• distessed/sanded/inked/torn/stitched edges
• used classic products from a variety of collections
  (my October Counterfeit Kit)
• mixed up my title letters and added handwritten journalling

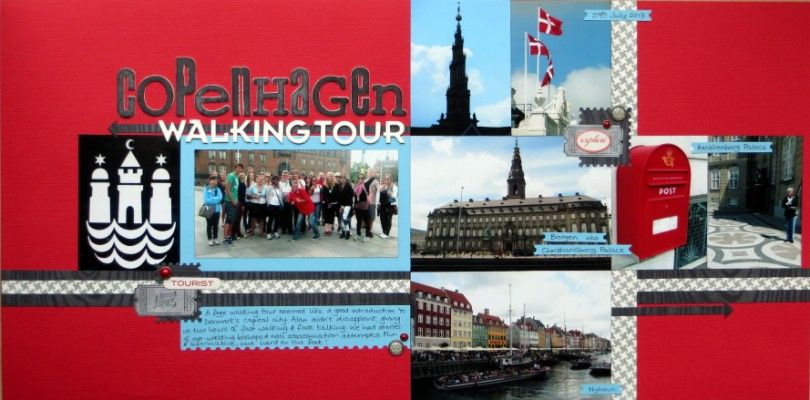
Jimjams - Layout LHS - Copenhagen Walking Tour

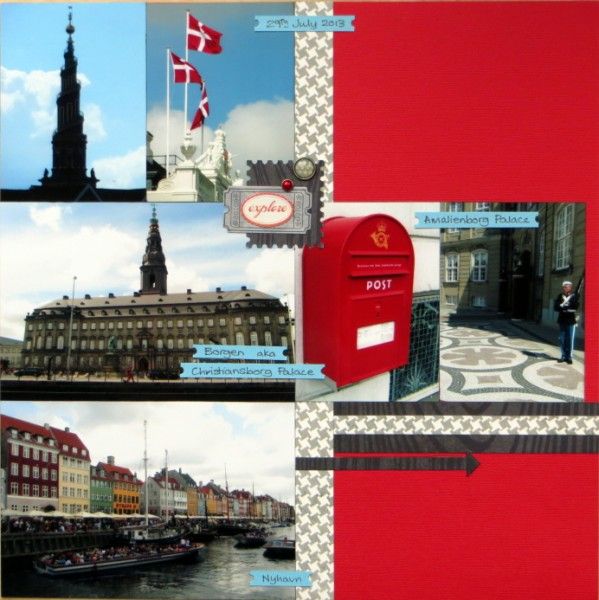
... and because I had answered that I occasionally do double pages (and that book of sketches is crammed full of brilliant ones), it seemed appropriate that there was a second page of photos from our free walking tour of Copenhagen this summer:

Jimjams - Layout RHS - Copenhagen Walking Tour

... making a double page spread that I recognise as mine, but is probably a little cleaner and simpler than most of my single pages thanks to the number of photos:
Jimjams- DLO - Copenhagen Walking Tour

Then it was time to have a go with my style swap partner's answers:

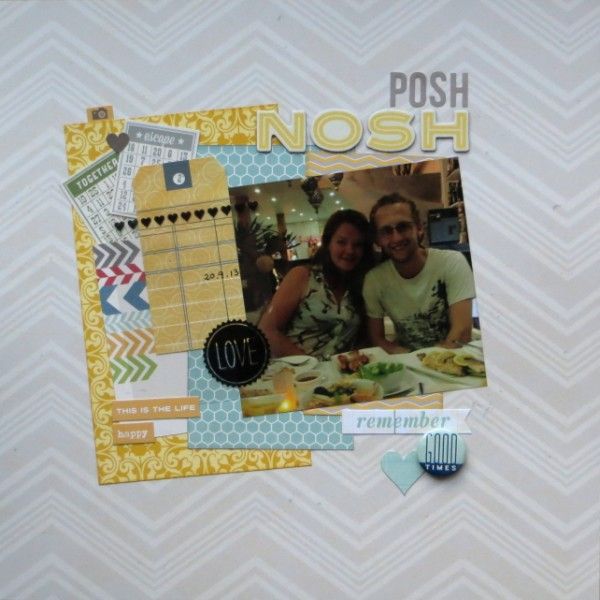
Posh Nosh detail photo PoshNoshdetail400x300.jpg
• start from a single momentous, standard-sized photo
• use a neutral, patterned paper background
• feature clustered angles and visual triangles
• strike a balance between sticker sneeze and clean & simple
• centralise the main elements
• keep the tones muted with organic and girly patterns
• use classic products from a variety of collections
• mix up the title letters and add handwritten journalling
distress/sand/ink/tearn/stitch edges

Jimjams - layout - Posh Nosh

I think I managed most of the instructions: a single, cropped, photo from No.1 Son's recent holiday in Thailand, using muted papers and mixed-collection embellishments from my November Counterfeit Kit along with a scrap of girly (?), swirly patterned paper.  The title is made from two different alphabets but I have yet to add the journalling because No.1 Son can't remember the name of the restaurant they ate in ... I shall have to call his girlfriend and find out.  To be honest, I forgot about the edge distressing and struggled with the angled clustering, but I really like the use of a neutral patterned sheet as a background and will definitely be trying that again.

Now all that remains is to guess just whose style I have counterfeited ... I was torn between Lynette, Milissa and Stephanie because most of the other Forgers love getting messy with inks ... but I have to choose one, so I'll plump for Milissa!

I wonder who Julene was swapped with ...and whether she had trouble adapting her style?
Tuesday, 12 November 2013

Sofa Friends & Scrapfriends

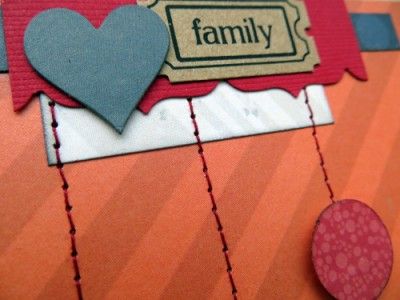
Jimjams - layout detail - stitching and embellishment cluster
I have a number of sketch challenge sites in Feedly and usually grab a few sketches from around the web for inspiration before a crop.

I don't actually print them out - just re-sketch them onto a scrap of paper, indicating where the photo, title and journalling will be, along with any embellishment groups.  This more or less guarantees that my page strays from the original sketch, especially if I can't refer back to it before finishing the page.

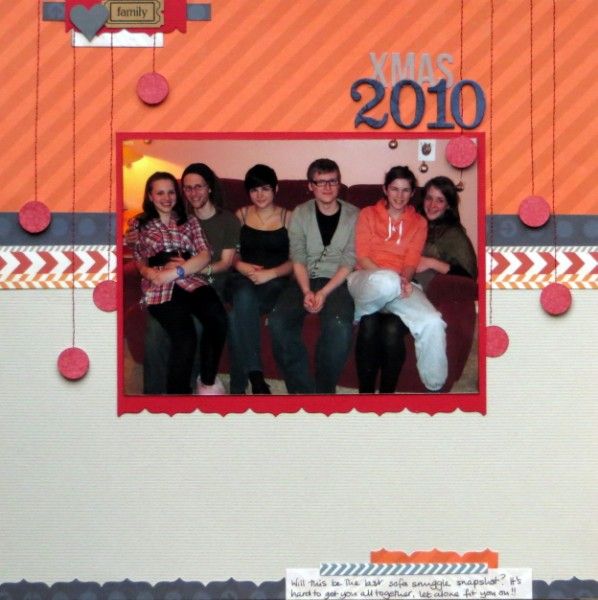
This month I popped over to Scrapfriends and grabbed their November sketch (#19), my November Counterfeit Kit and a festive photo: our three kids and their cousins have been snapped on our sofa almost every Christmas for the last 17 years ... it's getting harder to gather them all together thanks to jobs/studies/travels and it is definitely harder to squeeze them onto it. 
{It won't happen this year either as we are facing our very first Christmas without No.1 Son; my heart strings are being tugged hard each time I cut an apron string *sigh*}

Jimjams - layout - Xmas 2010

Scrapfriends - November sketchI remembered that there were some feathers hanging down on the sketch and chose to interpret them as hanging baubles because we use them to display our Christmas cards from them each year - see what I mean about deviating from the sketch LOL

There's a colour challenge over at Scrapfriends in a couple of days ... I wonder how far I'll wander from that ;-)

In the meantime they also have a great blog candy giveaway at the moment ... take a look here for details.

Giveaway @ Scrapfriends

P.S. See my title figures there ... they were plain grungeboard ... amazing what a little blue ink, a swirly stamp and some black Stazon can do - check out other ideas for changing colour over at the Counterfeit Kit Challenge Blog today!