Welcome to my post for the CKCB Master Forgers' Blog Hop - you may have joined me from
Kim, or just happened by - in which case, feel free to catch up with previous hops by starting at the
Counterfeit Kit Challenge Blog. This month's hopping is sponsored by one of the Master Forgers,
Sherri, and her
Etsy Shop selling Ippity Stamps.
I've just returned from the most brilliant weekend away: scrapping with friends old and
brand new!! My UKScrappers team is part of a "house" and a bunch of the girls from our "house" teams got together for a meet up near Birmingham. A few of us had done classes & challenges to share and the weekend was packed full with creativity, chat and chocolate ... plus 3 meals a day with NO washing up to do! Heaven!!!!
One of the classes was given by my good friend Claire K. I knew in advance that it would be perfect for this post as she was sharing a stamping technique which is surprisingly quick and easy to do and creates a really effective decorative frame for your page! I saved some of my
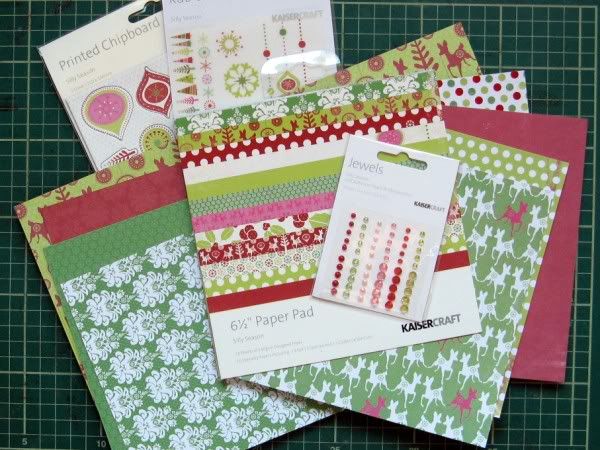
September Counterfeit Kit especially for this and, with Claire's permission, I took photos of my page as the class progressed so that I could share with you.
- Choose a decorative CLEAR stamp, ink, a photo and base card or lightly patterned paper.
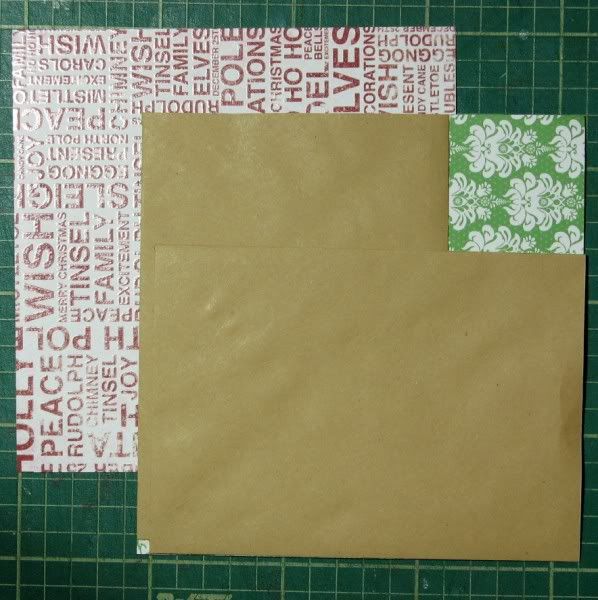
- Decide what shape you want your stamped frame to be: circular, square, oval ... or something else entirely??? Cut the shape from scrap paper (I used the back of some unloved old stash but others used the inserts from page protectors).
 |
| I've used Kaisercraft Christmas Bauble stamps from their Silly Season line |
It's worth practising the next steps on some scrap paper before you try it on your decent stash ... or have a go on the back of your page first!
- Lay your scrap paper shape into position and keep it there with repositionable glue/sticky tak/paper clips/magnetic posts/paperweights/a third hand.
- The stamping around the shape will almost certainly leave a gap or an overlap, so work out where you can conceal this with an embellishment cluster, title letters or a journalling block. Start stamping from this point, around the edge of the scrap paper shape - with part of the stamped image on the scrap paper and part on your background paper or card.
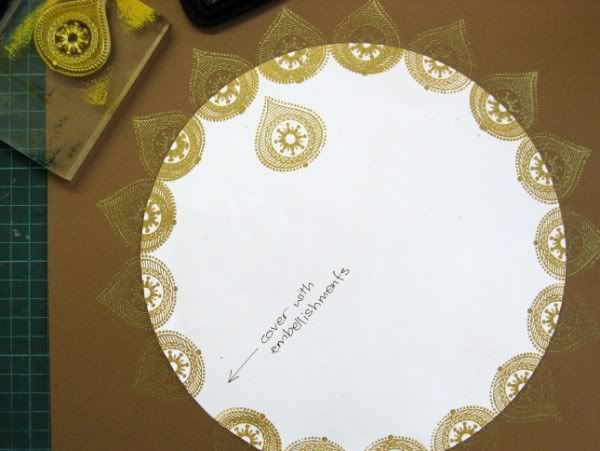 |
I lined up the centre of the bauble along the edge of the circle with adjacent images just about touching.
It didn't always work exactly, but nobody but me will really care! |
- Remove the scrap paper shape to reveal a crisp outline frame.
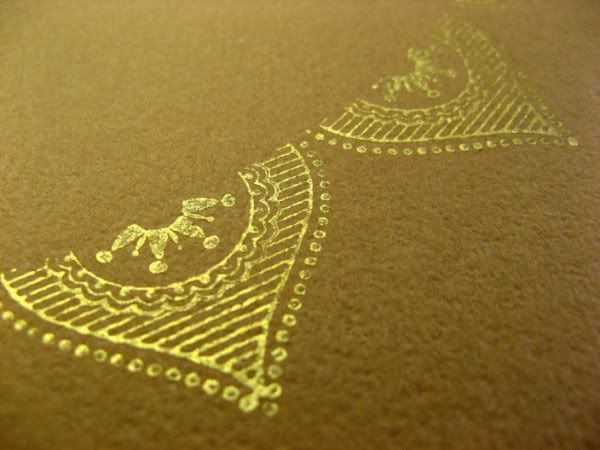 |
| Gold Stazon (lent by Claire) was really effective on my cardstock |
- You can now use the paper shape as a template to cut patterned paper to fill the centre of the frame if you wish. (I decide to mix it up and just use a partially curved strip of paper across the bottom of my circle)
- Place photo, title, embellishments journalling blocks etc onto your page, not forgetting to conceal that gap/overlap in the stamped frame.
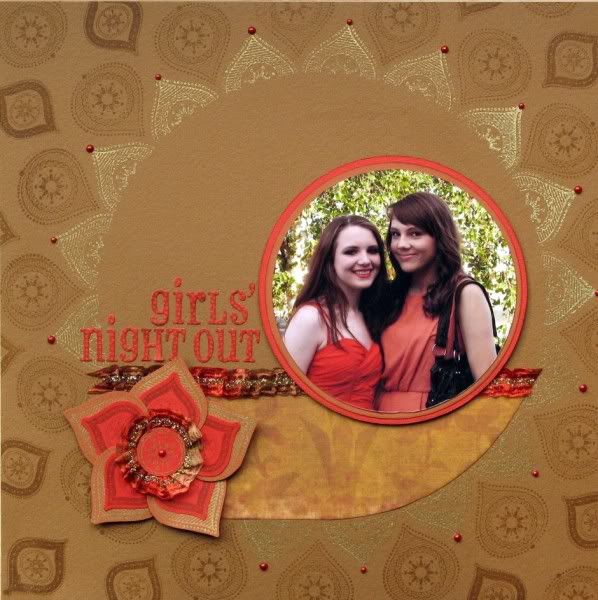
Claire suggested using ric-rac/ribbon to outline the frame shape for added definition (or if your stamping has been less than perfect). Mine was good enough for me, but with 20/20 hindsight I did wish that my join had been a little higher up the page. I had to make quite a large embellishment to cover it up yet leave the page balanced.
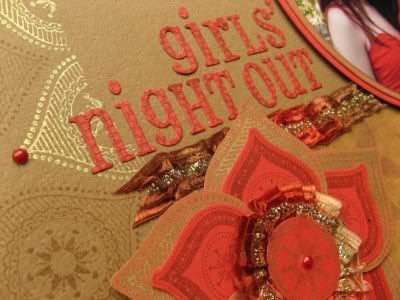
As you can see I got carried away with another bauble stamp on my background and also used it to help make layered petals for my "flower". I toned down the Quickutz Blossom die-cut title lettering by overstamping with an Artemio dotted circle stamp.
Many, many thanks to Claire for a great technique (and allowing me to share it today) and a special thank you to a class-mate, Karelyn, who lent me her circle-cutting system for my photo mats. Aren't scrappers just the best, most generous people?!?!?!
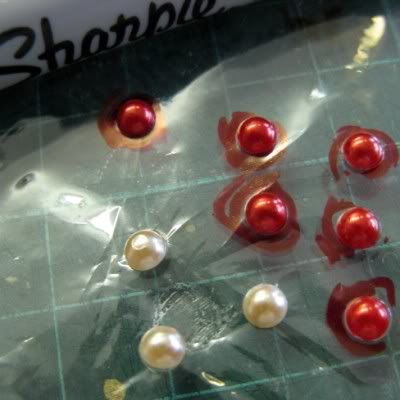
The keen eyed amongst you may notice that I have supplemented my September Counterfeit Kit supplies with red cardstock and fancy ribbon ... but those pearls were in my kit, honest! I just attacked them with a red Sharpie pen!
Oh and I have one more stamping thing to share with you before you hop over to
Margie for more stamping surprises ... a
free e-zine of
The Best of 2010 from Craft Stamper - a seriously lovely UK stamping magazine. Hurry though, as you only have until October 1st to download it!
ETA: Challenge combining as ever .... this is loosely based on
Kaisercraft September Sketch #3, ties in with A Trip Down Memory Lane's
"D" for Daughter and fits in with Scrapbookers Anonymous'
stamping challenge - how many birds have I killed with this page? :P
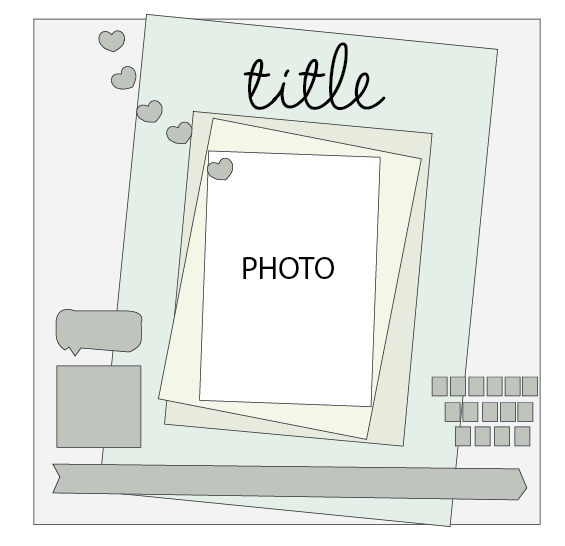
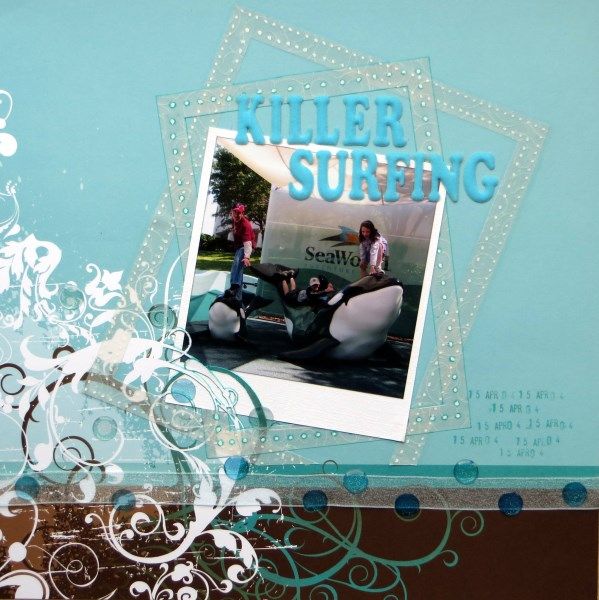
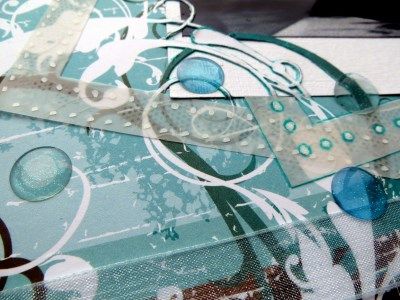 Here's another page for our Disney 2004 album made from supplies in my April Counterfeit Kit. This month the Master Forgers at the CKCB are picking sketches for inspiration and after much internet surfing (!), I chose the first Saturday Sketch from Kaisercraft's lovely blog.