Happy First of the Month!
Which around here means that it's reveal time at the
Counterfeit Kit Challenge Blog.
We started with
Dawn, our Guest Designer, and you will have seen everyone else including
Susanne as I'm the last in line.
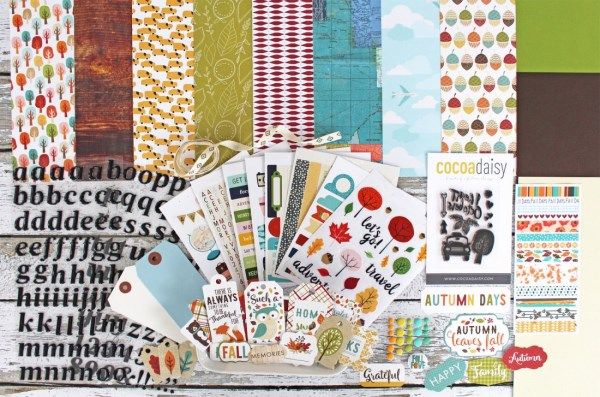
This month the kit-to-copy is Cocoa Daisy's
City Park.
A lovely autumnal set of papers, and I knew I had
one themed paper in my stash ... so
that was the basis of my whole kit! Unfortunately as it was a freebie from a retreat give-away pile, I have NO idea who the manufacturer is.
Supplies:
MME Bloom & Grow "Bloom" Vines (yellow vine reverse)
Carolees Creations Little Things Dot
The two unknown sheets!
Simple Stories Awesome Collection Flash Cards & Bingo Cards
Allison Kret Sprinled With Love By Your Side (love-birds reverse)
Various tags and journal cards from my stash
Papermania rub-on alphas
K&CO rub-ons
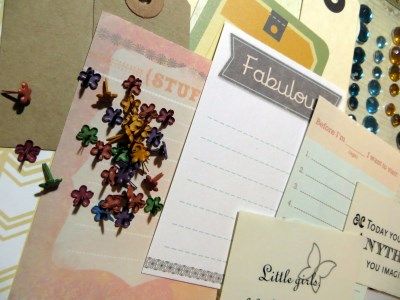
MME Follow Your Heart gems
Autumnal coloured brads
Next on the hop is
Kelly (who chose the lovely kit) - take a look why don't you?!
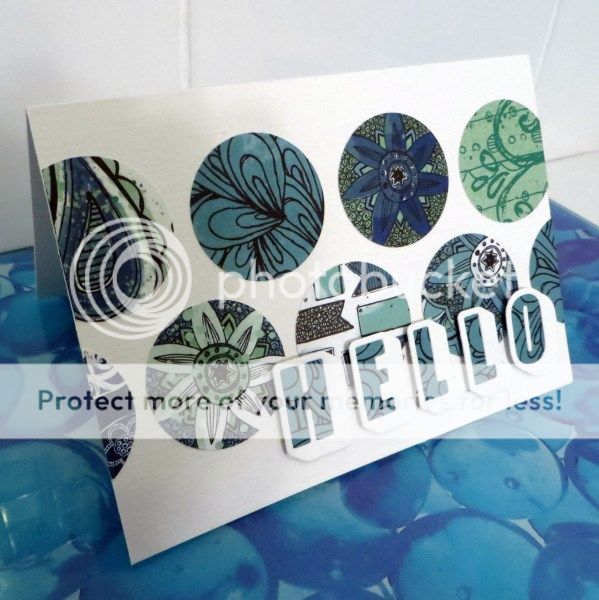


 The reverse sides of the sheets are all black and white doodly patterns which should be useful.