Showing posts with label Stitching On Paper. Show all posts

Saturday, 8 March 2014

Counterfeited Stitching

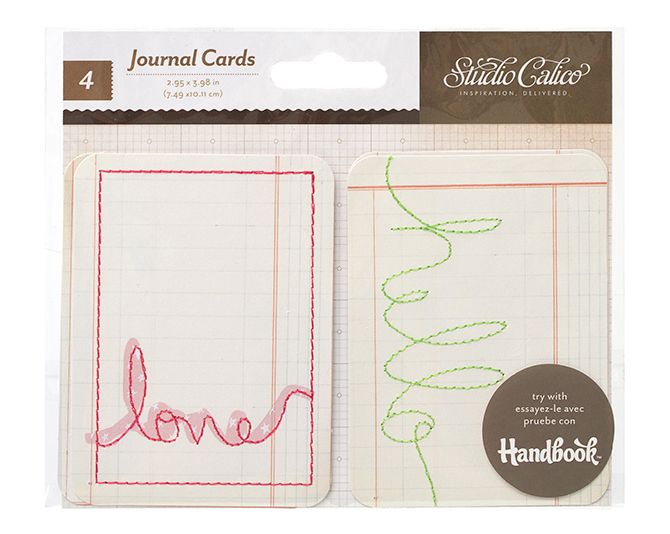
One of this month's kits-to-copy with the Counterfeit Kit Challenge Blog included Studio Calico stitched journalling cards.  Regular readers will know that my sewing machine is set up and ready to go sew at the slightest opportunity, so I jumped at the chance to counterfeit these.

First off, I grabbed some scraps of ledger paper and cut them into rectangles that more or less matched some of the journalling cards in my March Counterfeit Kit.  As I'm not a pocket page scrapper I wasn't too bothered by the exact dimensions, but if Project Life is your thing then you need to measure more carefully!

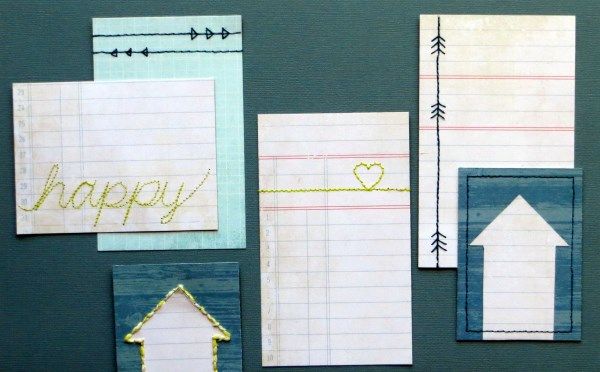
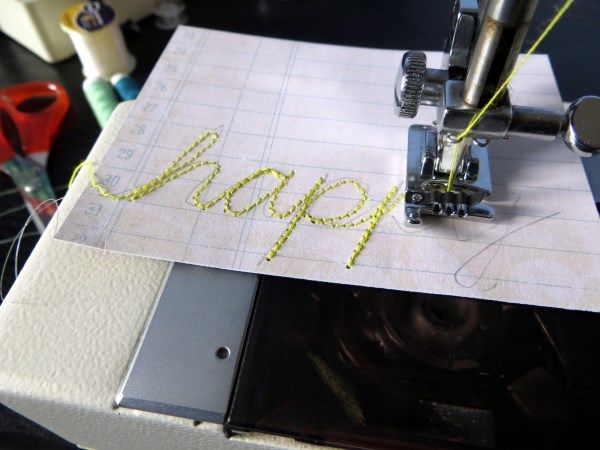
For my first card I lightly pencilled in the word "happy" in a cursive script, keeping to the ledger paper lines.  I slowly, slowly machine-stitched along the pencil lines, exactly as I had drawn them, using a medium stitch length and stopping to rotate the card every few stitches.  A hand sewing machine would be ideal for this.  I alternated between careful pressure on my foot pedal and hand cranking!  When my pencil line reversed direction so did my stitching and I was very careful to match up the stitch holes when over-sewing to avoid shredding the card: paper is not as forgiving of needle holes as fabric is!
Jimjams - Stitching on paper
Not my normal sewing foot: this one gave me best visibility of the pencil line ... I think it's actually for cording!
The thread ends were pulled through to the back of the card and taped down to secure them.  Taping them down thread rather than knotting them means that they remain secure if you decide to trim down the card a little before you use it.

The next three cards were quicker and simpler:  a longer length stitch for a straight line (or two) across each card.  These lines were embellished by pre-piercing holes for triangles, a heart and arrow heads and then hand-sewing in the same thread (see photo below).

Jimjams - Use sewing machine to quickly pierce even holes around paper shapesMy final card started wasn't a resounding success: I decided to add shaped ledger papers to patterned paper from my March Counterfeit Kit and wanted to stitch around the shape using twine from the kit.  made stitch holes with my (un-threaded) sewing machine as that's quicker and more even than hand piercing.

Sewing with bakers twine started well, but as the twine got worn from travelling through multiple holes in the card, it started to fray ... and when I started filling in the stitches to make a solid stitched line, the card began to give way!

Not a good idea to sew with Bakers Twine :-(
{Sewing with fibres is even worse!}
If I'd stuck to (stranded) embroidery thread I'd have been fine.  Rather than carry on hand-sewing, I chopped my card in two, reloaded the sewing machine and quickly framed the arrow card instead.

Jimjams - Counterfeited Studio Calico Stitched Journalling Cards

Now of course you can go one step further and counterfeit the stitching as well.  So in the order to be completely true to my post title, here are a couple of fully counterfeited, counterfeited stitched journalling cards:
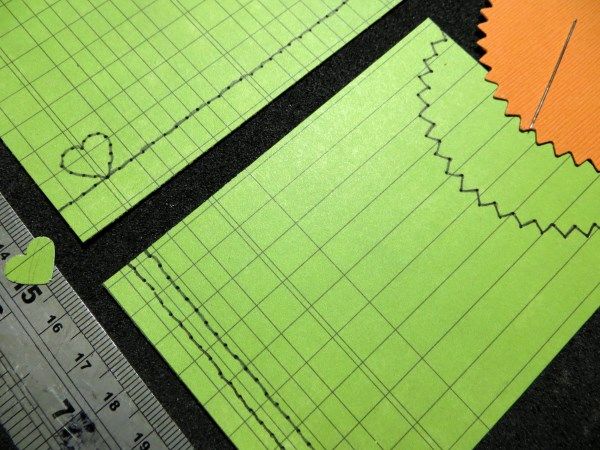
Jimjams - quick faux stitchiing

Simply lay your card over an upturned mouse mat, pierce regular holes in a line/around a shape and fill in the gaps with a fine pen.  I still prefer the real thing though!!

Lots more counterfeiting going on today at the CKCB - check it out!

Monday, 24 February 2014

Christmas Crackers

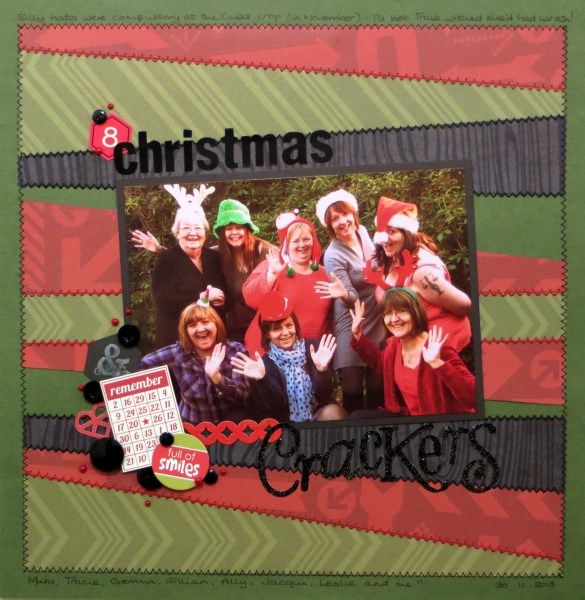
Welcome to the start of February's Members' Blog Hop from the Counterfeit Kit Challenge Blog .  I chose the second challenge this month to make a fun background of angled patterned papers for my page.

Jimjams - Layout - Christmas Crackers

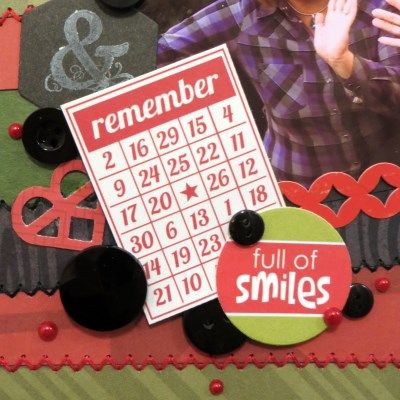
Jimjams - Layout detail - triple stitching embellishment clusterThree patterned papers from my February Counterfeit Kit matched well with a silly photo from our Christmas crop and the addition of some glittery alphas, bright red pearls and triple zig-zag stitching added some textural appeal.

I wonder which of this month's challenges will feature on the next stop on the hop at Julene's blog.

If you get lost whilst hopping the full order is published on the Counterfeit Kit Challenge Blog today.

P.S. There's still time to have a go with the SJ Crafts  February Sketch and be in with a chance of a prize ... check it out

Thursday, 23 January 2014

Zoom In Zoom Out #4

As promised, a happier ZIZO post from me ... and (nearly) at the beginning of Helena's weekly link-up for a change.

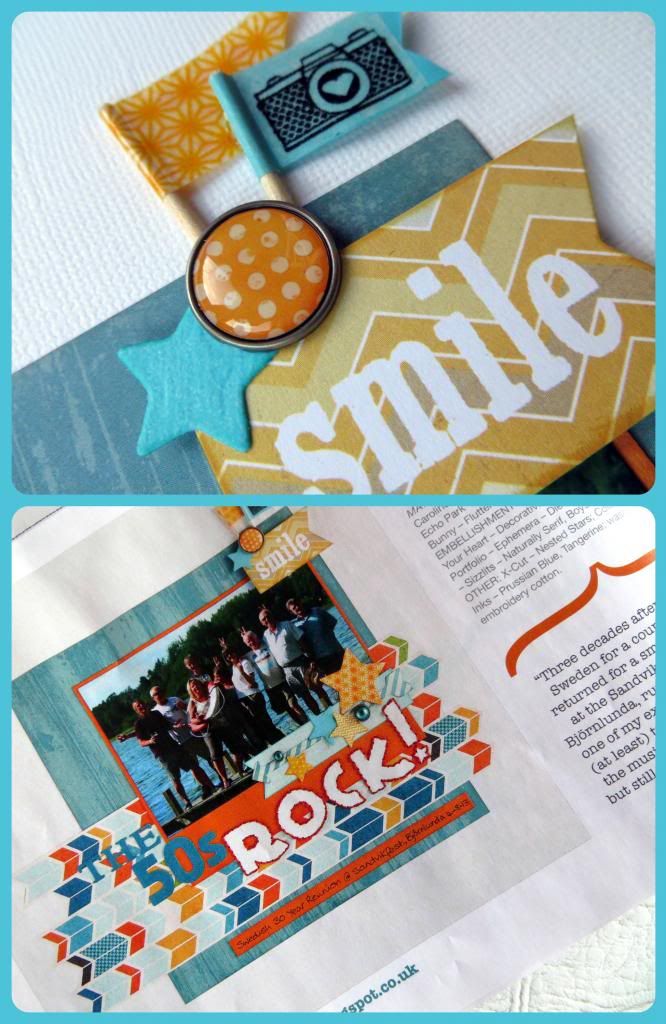
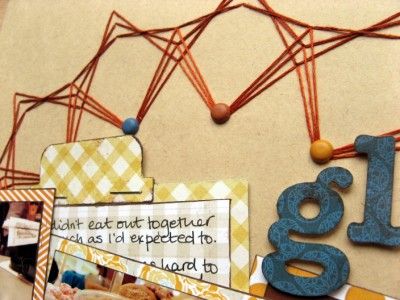
First there's a shot of a little flag cluster made last year at the Green Button's retreat using my October Counterfeit Kit after some tips on using washi tape creatively from my friend Jolene.

Jimjams - ZIZO 04 - Published in Scrap365

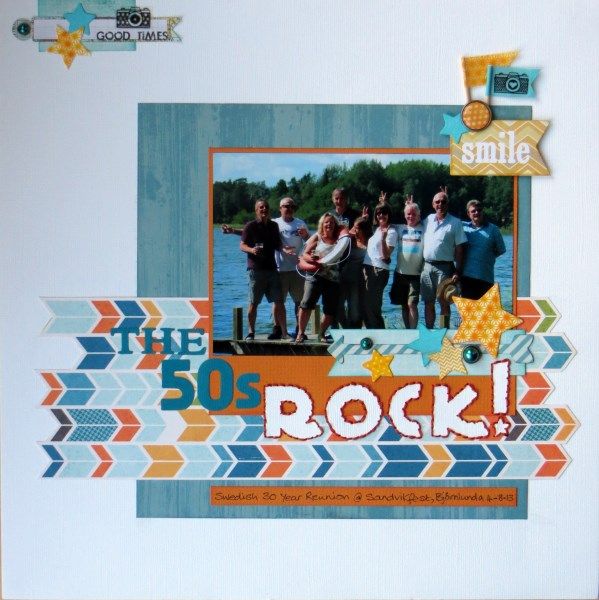
And if I zoom out a little ... there's the layout with the flags in the Readers' Gallery in the latest issue of Scrap365, using a photo from last year's Swedish road trip.  Along with washi tape covered die-cuts, I'm using one of my favourite stitching techniques to outline my title letters.

Jimjams - Layout - The 50s Rock!

And while I'm, not so subtly, using ZIZO to blow my own trumpet :-D  I'd also like to share that I recently applied for the Design Team at the UK on-line store S J Crafts ... and was accepted!  Sarah broke the news here on her shop blog on Monday.  I'm looking forward to having a play with some of their lovely stash and working alongside a very talented team for the next three months.  Wish me luck!

S J Crafts Logo

Monday, 28 October 2013

Blurred Vision

I have managed to get photographing my layouts down to a fine art:
  • place them on the floor in a good light (by my patio doors)
  • stand over the page and zoom in slightly, squaring the shot with the viewfinder grid lines
  • edit the photo in Picasa (straighten, crop, adjust colour & contrast, retouch ...)
  • resize for the web with PixResizer
  • upload to my web storage
  • share on my blog/UKS gallery
However, just recently I've noticed a bit of fuzziness creeping in.  No matter how good the light, how still my hands, how clean the camera lens ... something is just not right.  And I *am* wearing my glasses.  Strangely, the macro shots are just fine!

Jimjams - Fuzzy page

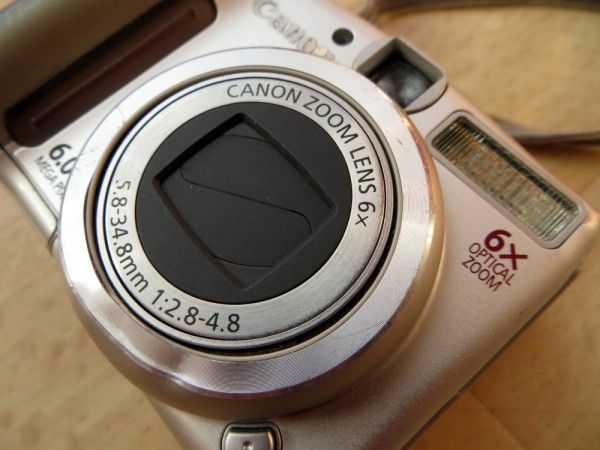
My beloved Canon Powershot A700 is well used.  It has received a quite few knocks over the last seven years: there are two scratches on the lens that catch the sunlight sometimes; there's a chip in the housing near the battery compartment; most of the symbols on the back have worn away.  BUT, since its return from a month's sojourn in the rainforests of Costa Rica and the orphanages of Nicaragua, documenting Child No.3's summer expedition, it's struggling!

I finally made time to experiment and was amazed to find that the fuzzy area is only in one part of the photo.  Rotate the camera and the fuzzy area moves too!  I took a closer look at the camera:

Jimjams - Photo - Dented Canon Powershot A700

Hmmm - definitely an interesting shape to the lens housing.  And a new dent on the top corner by the flash.  That could explain a lot!

Staying on the subject of things that can blur the vision, here's a page made from my September Counterfeit Kit:

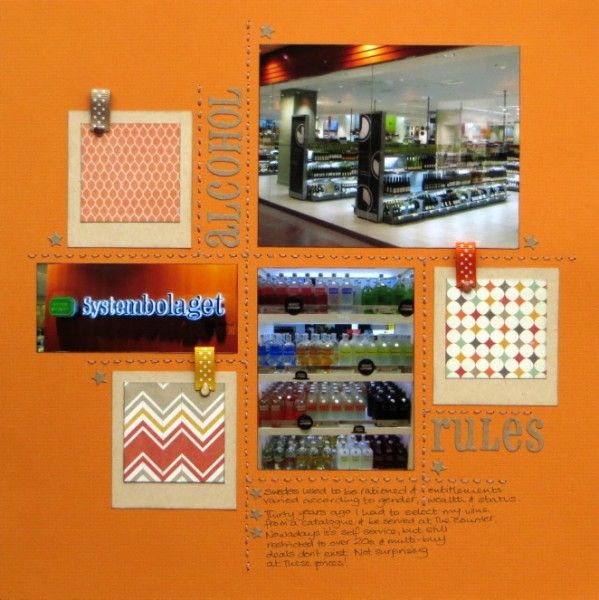
Jimjams - Layout - Alcohol Rules

Sweden has a state run chain of alcohol shops called Systembolaget which fascinated me when I worked there 30 years ago so I wanted Hubby to see one during our Scandinavian road trip.  In my day, you had to select each bottle of wine/beer/spirit from the current brochure, take your order to a counter and the assistant would fetch it from the storeroom for you.  Nowadays, once you have been allowed into the store by the security staff (over 20s only), you can fill your basket from the price-ordered shelves yourself, though there are still no multi-buy offers allowed. Better for the wallet that way to be honest!


You will notice that there is NO blurring of the layout photo.  Well that's because I treated myself to a replacement Canon.  As with computers, camera technology has moved on; so for much less money than my old A700, I have more than 3 times the zoom and twice the mega-pixels.  It helped that I was happy to settle for the SX240 HS which is the 2012 model and therefore ⅔ the price of this year's SX270 HS.  Just got to read the manual and work out what to do with all the other new features that have been introduced since 2006!  Happy Days :-D

Friday, 11 October 2013

Going, Going, GONE!

I'm going to a retreat with friends from UKscrappers this weekend and it's going to be a lot of fun.  While I'm gone I thought I'd share the first page made with my October Counterfeit Kit with you:

Jimjams 8x8 Layout - Going, Going, GONE!

It's an 8x8 page to go into the album about our home and the changes we have made over the years.  This was a sad day for us because one of the trees we planted when we moved here has had to come down.  The neighbours were concerned about their fence, the branches that hung over their garden, the leaves that fell on their grass and the shade that dappled their grass.  We were concerned about staying on good terms with them (and the costs of repeatedly trimming the tree every few years) and decided enough was enough.

Jimjams - Layout detail - hand stitched, faux cut-out title

Twenty years to grow and twenty minutes to come down!  Now we can see that our neighbours have a very large tree, but at least it has short branches and is evergreen!

Have a good weekend :-)

Thursday, 22 November 2012

Inspiration Leaves

Occasionally it does.
Confronted by an empty cutting mat and neatly tidied supplies.  Overwhelmed by a pile of newly printed photos and a mountain of stash.
My mojo disappears.  Entirely.

What to do?  Where to start?

I normally resort to a quick surf around my favourite sites: what's the weekly challenge over on UKScrappers, or is there an inspiring sketch at Pagemaps, or how about a sketch or a challenge from the Counterfeit Kit Challenge Blog?  Or some combination?

The second challenge for November at the CKCB was to use autumn foliage for inspiration.  Hmmm - not an easy task with the colours I had chosen for my kit, nor great for the photos I wanted to get scrapping with.  So I did a quick Google for images and found this gorgeous spectrum of leaves from the same maple tree.  I'm a sucker for a rainbow of colour ...

Photo - Autumn Leaves Spectrum of colour by Chris Glass
Source

And here's the page that grew out of that inspiration: spiky shapes, colourful changes, curves ...

Layout - Fun By The Bus Load - Jimjams

Layout detail - flowers made from punched snowflakes
It's a little bit of a cheat to be honest as the only things from my November Counterfeit Kit are the block of paper and the large alphas.  And yes, I did manage to combine it with the weekly challenge on UKS which asked for home-made flowers, punched shapes (they're made with snowflakes), inking and crumpling!

I'm off to look for a sketch now to keep my creative juices flowing and stop inspiration from leaving!

Thursday, 8 November 2012

Fire Away!

Layout detail - Stitched title It's the little things that separate us, make us unique!
Brits wear pants underneath their shorts.  Yanks wear shorts underneath their pants.
I walk on the pavement.  You might walk on the sidewalk (but don't drive on it or someone might think that you're an idiot!).
When it's my birthday, people here send me greetings.  In Holland they also congratulate Hubby (for what? Having such an old wife?).
I like stitching on my pages.  My friend does not. 
We have red fire engines which connect to unobtrusive hydrants under the ground ... whereas Americans ...

Layout - Fire Away - Jimjams

I was fascinated to see a real "live" American fire hydrant when I visited Las Vegas.  Even more intrigued to find that they came in different colours.  Post-holiday Googling advised me that these two were just plain boring compared to some American hydrants, but they made me happy at the time :o)

This page was made with supplies from my November Counterfeit Kit for one of the challenges in the recent UKScrappers Cybercrop - to scrap about the little things that you spot along the way.  Do you take photos of oddities when you are away from home?  Do you scrap them?

Tuesday, 30 October 2012

Stitching With Patterns

Layout detail - String Art On Paper
Are you joining in with the UKS Cybercrop?  It's free, with lots of interesting classes, challenges and games ... plus PRIZES!  Also, a certain someone did a class on Saturday afternoon ... more string art stitching with a template and instructions available to download.  Several people have already adapted the design page for their spider-webby Halloweeny photos.

Meanwhile, I have been attempting other people's classes and am now able to share a final page from my October Counterfeit Kit:

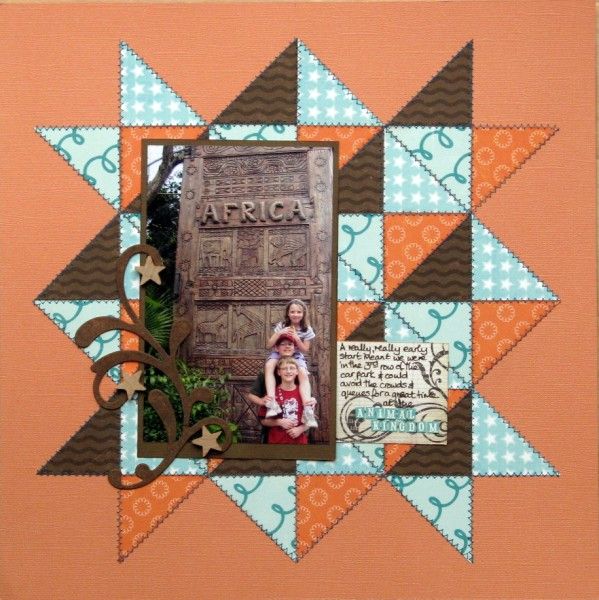
Layout - Africa, Animal Kingdom - Jimjams

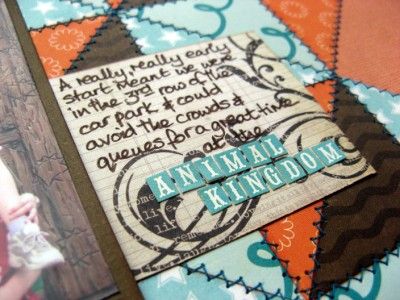
Layout detail - zig-zag stiching on patchwork pattern
I was inspired by the patchwork quilt class by my friend Suzysnail and adapted it for a page featuring one of the African pillars in Disney's Animal Kingdom.  LOTS of machine zig-zag stitching later I had a finished page and a floor covered in sewing thread offcuts!

There's still time to join in on UKS - the deadlines are pretty relaxed (Friday evening for the classes, Saturday evening for the challenges).  Plenty of time too for you to check out the Master Forgers call over at the CKCB.


Wednesday, 17 October 2012

Calendar Catch-up #2

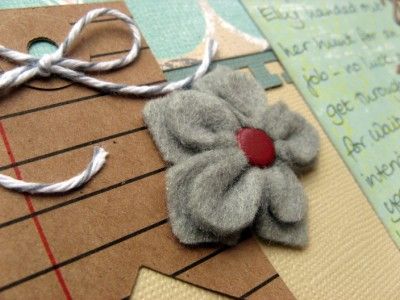
Layout detail - home-made felt flower
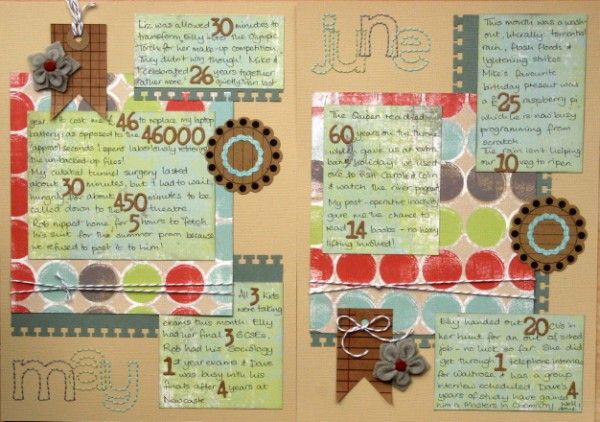
I promised myself that I would get a move on with transferring my Month In Numbers posts (read all about MiN here) onto paper while I was away at The Second Green Buttons' Retreat (the Remix) earlier this month.  Armed with print-outs from my blog and some extra notes from the calendar and my diary, I am proud to report that I completed seven missing months' journalling!!!  The pages themselves were ready, it was just a question of adding the words and numbers.  I won't bore you with them all, but I do have a previously unseen pair of pages made with my September Counterfeit Kit, featuring the stitched lettering that I have been using recently along with some counterfeit tags and fake felt flowers too.

Layout - May & June In Numbers - Jimjams

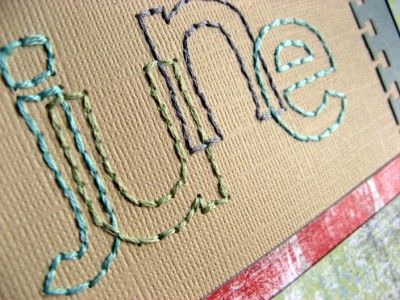
My contribution to the retreat was sharing some hand-stitching ideas including a template for the stitched letters.  I have sized the letters to match my diminishing supply of Scenic Route chipboard alphas.  Printed out onto a transparency, they can be positioned exactly where you want them to be before you prick through to create your stitching holes.  And because the transparency is reasonably durable you can use it again and again.

Layout detail - stitched June

Do you fancy having a go with my template?  I've uploaded it to share here (for some reason it looks like a blank sheet on Google Drive's preview, but it does download properly). Do please leave me a comment and let me know what you make of it.

Sunday, 30 September 2012

A Stitch-Up?

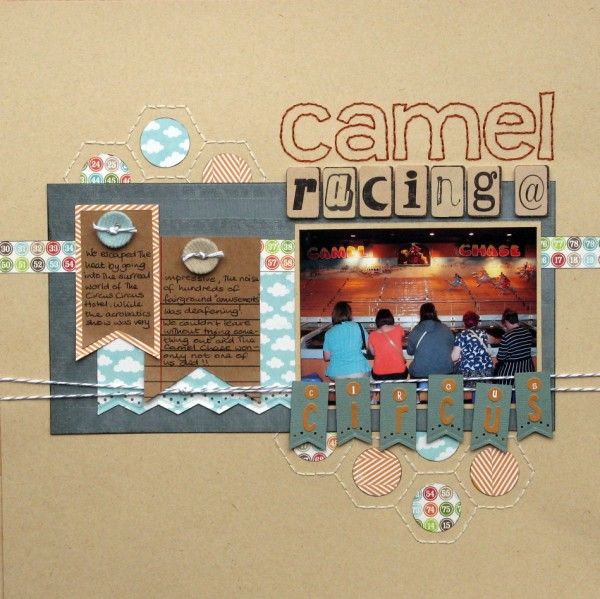
Were you inspired by Clair's Stitching On Paper class last month?  I was.  Hand-stitching has featured on a few of my pages recently, including this page for my Las Vegas album.

Layout - Camel Racing - Jimjams
Meeting the UKS Weekly Challenge criteria of:
1 Photo, 2 Embellishments, 3 Cardstock colours, 4 Patterned Papers, 5 Title Words and 6 Circles

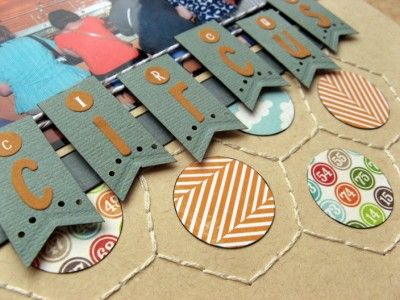
I've embroidered both my title, using the same font as on this page, and some hexagons directly onto the background cardstock.  I had fun with my border punch to make my banner and used some of my counterfeited flag tags for my journalling.  All supplies are from my September Counterfeit Kit.

Circus Circus is a "family friendly" hotel in Vegas with lots of free entertainment and floors full of fairground "attractions" ALL making the most incredible noise!  They probably ought to give out free headache tablets!

Most of the machines and games are very anti-social solitary, but five of us risked a few dollars throwing balls into holes in order to propel camels along a race-track - we still didn't win though - a kid just out of shot somehow beat us all. What a stitch-up!

Friday, 28 September 2012

Positively Negative

There's been a bit of a trend recently for using negative space on pages - backing holes made by the Slice or Craft Robo or Silhouette with patterned paper as way of adding depth to a page.  I have been looking on enviously as I don't own any machines (or even punches) capable of cutting out the middle of pages like that.  I was therefore a little perplexed when the Counterfeit Kit Challenge Blog announced their third challenge for September: to use the negative space from punches or die cuts.


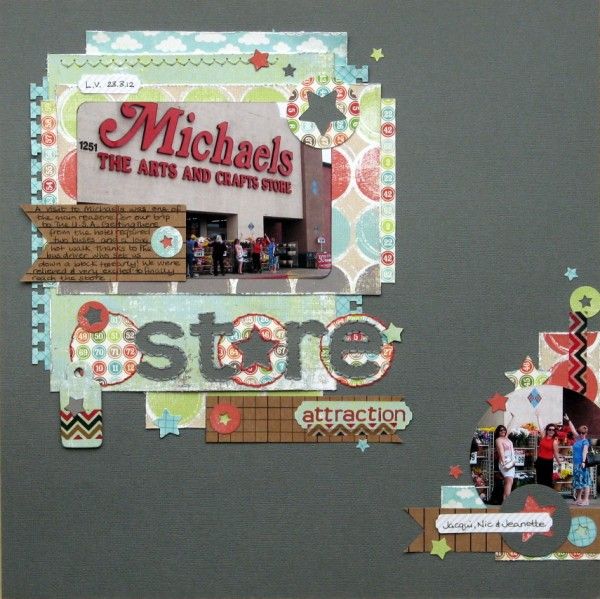
OK, I don't have a fancy machine but I do have plenty of punches so I got busy with some stars and circles to go with a photo of a Michaels store in Las Vegas that was the highlight of our stash shopping {and the starting reason for organising a trip to the U.S.A.}

Layout - Store Attraction - Michaels in Las Vegas - Jimjams

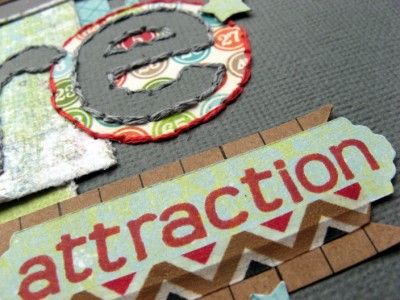
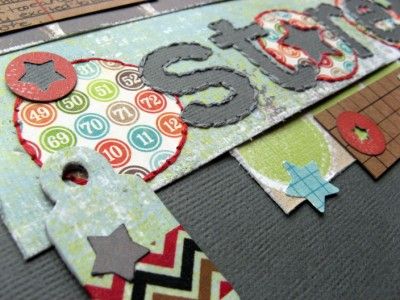
Thanks to Clair's recent Stitching On Paper class I'm still exploring hand-stitching and had fun with a great technique I learned from Kinsey Wilson's blog which I used to make faux negative space letters for my title.  I've used one of my favourite free fonts, Teen, which matches my teeny tiny Banana Frog stamps and my diminishing supply of Scenic Route chipboard alphas .


Challenge combining as ever, I've used the August sketch from Scrapfriends as part of a September Weekly Challenge on UKS. All Almost all supplies are from my September Counterfeit Kit, including home-made tags, but not including the lovely stripy chevron washi tape - that was kindly sent to me by Alison - thank you :o)

Saturday, 25 August 2012

String Art on Paper

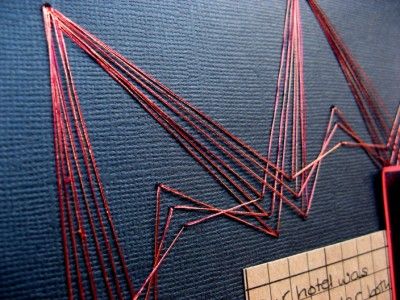
Hmmm - when Clair contacted guest designers for her Stitching On Paper series she shared a list of the class techniques and let us choose what to join in with.  Today's topic brought back memories from my youth when String Art was all the rage.  I can remember hammering hundreds of pin tacks into chipboard, winding miles of embroidery thread back and forth around them and making several pieces of wall art for my teenage bedroom.  I have no idea where they are now and there are certainly no photos around so I jumped at the chance of incorporating a blast from the past into a layout.

Layout detail - String Art

Rather than pin tacks to my cardstock I pricked holes in it and stitched through them with metallic threads.

I used a Crafters Workshop circle template to mark out even divisions around a quarter circle on the back of my cardstock using a white gel pen.  A ruler helped me to add extra points radiating out from the centre of and I set to work with my needle to make the holes.

Layout detail - markings on back

Once they were done I had a happy hour sitting in front of the TV sewing back and forth, back and forth, back and forth ... before matting and layering my photos and journalling.

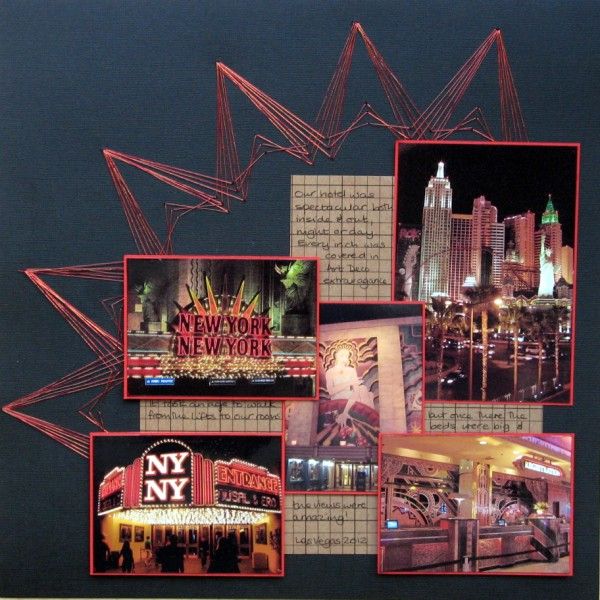
Layout - New York New York - Jimjams

Clair has lots more ideas for incorporating string art into your crafting - check them out here - there's even a chance of a prize for joining in before September 8th!

Wednesday, 8 August 2012

Still Stitching

Layout detail - machine stitching on cardstockI'm still stitching!  Are you?

One of my pages featured in Clair's 2nd day of Stitching on Paper - here's a peek:

If sewing on your pages with a machine has proved problematical, then Clair has plenty of help and advice to get you started.


I have three tips to share with you regarding machine sewing on layouts:
    Photo - practice stitching on cardstock
    What a mess!
    Better on a scrap than my page though!
  • Use "invisible" thread on the bobbin so that you only have to change the top thread when swapping colours
  • Sewing through paper blunts the needle.  Keep a scrapping needle separate from the rest or they'll all be blunt when you next sew with material
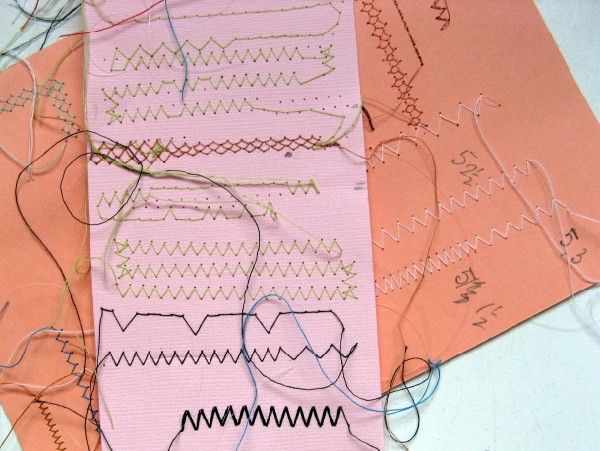
  • Test your tension, stitch size/style and cornering out on a piece of scrap cardstock (layered with extra scraps of paper if necessary).  I find this especially useful with zig-zag stitches as the combination of zig-zag width and stitch length gives lots of variety. 

Layout detail - imperfect circular machine stitching
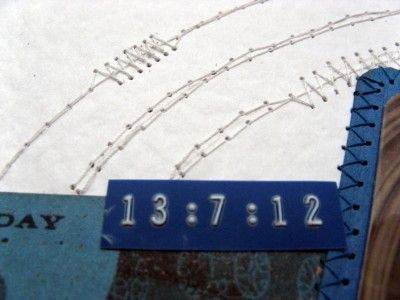
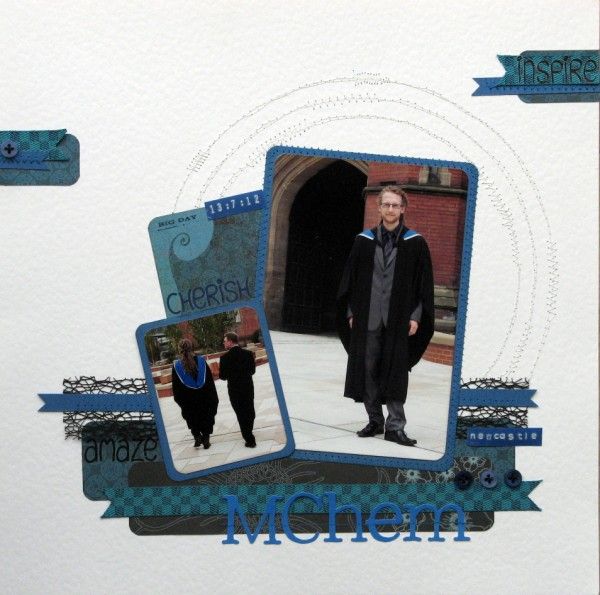
The page I shared with Clair's class just used straight lines of machine stitching.  My latest page needed some circular stitching to fit in with a sketch over at Scrapology.  I drew the concentric circles in light pencil directly onto my cardstock to act as guides and erased them afterwards.  I'm not brilliant at sewing straight lines, let alone perfect concentric circles, so I concealed any wobbles by going over the lines with more stitching that was purposely either side of the line with added zig-zags.


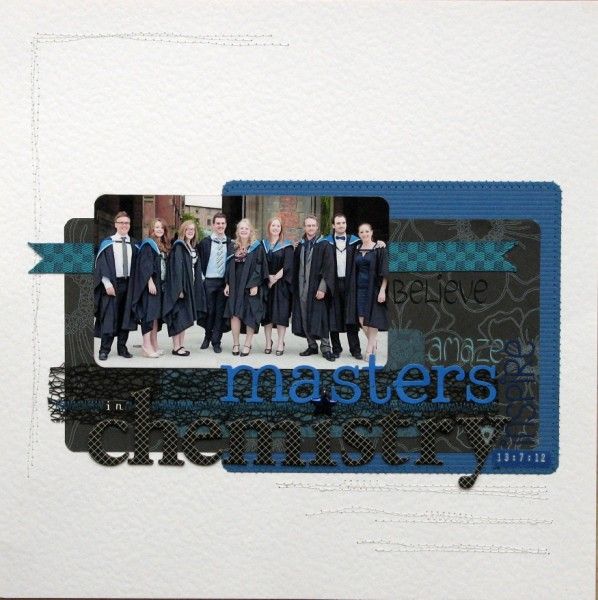
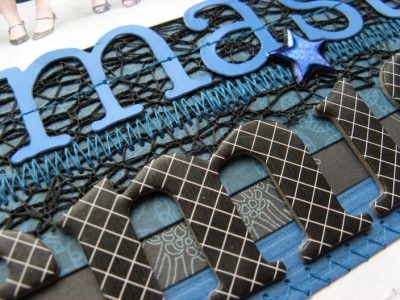
If you popped by on Sunday you will know that No.1 Son recently graduated with a Masters in Chemistry and I scrapped him with a group of his friends here.  Today's page puts him centre stage but uses the same papers, cardstock and trim so that they will sit nicely side-by-side in his album.

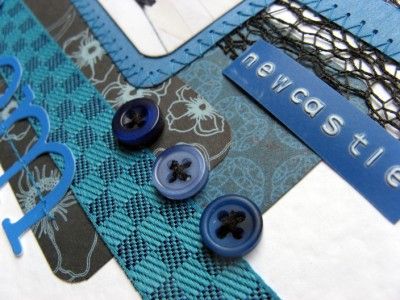
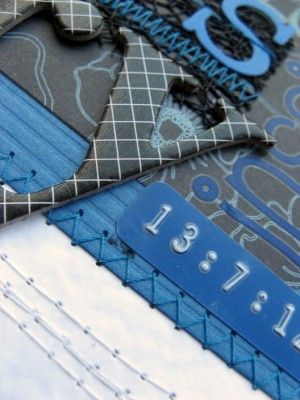
Layout detail - machine stitching on ribbon, paper, stickers & cardstock

More machine stitchery to come from me soon ... and Clair will be back next weekend with parts 3 & 4 of her Stitching on Paper class ... I can't wait!

Sunday, 5 August 2012

Mastering Chemistry

Welcome to my latest Sunday Story.  This one had a beginning back in October 2008, a middle in between and its finale just a few weeks ago - on Friday 13th.  Unlucky for some.  Not, however for No.1 Son (though he will deny that there was any luck involved and insist that it was all down to his hard work)

It all started somewhat inauspiciously when his A-level grades meant that he did not get into his first choice of university.  Thankfully he was accepted by his second choice and he started partying studying hard, learning his way around the bars of Newcastle Chemistry labs and making loads of new friends.
In order to maximise his future job prospects, No.1 Son had chosen a course with an extra year in industry and had to start applying for a work placement at the beginning of his 2nd year.  Trouble was, Britain's industries were struggling ... our economic downturn meant that companies were offering fewer placements and only the very top students managed to get fixed up.  So, along with all but six of his cohort, No.1 Son had to convert his course back to a standard degree.
He loved student life studying in Newcastle and didn't relish leaving yet, so he missed a few parties upped his grades to allow him to add a research year to his degree.  That final year was oh so hard ... No.1 Son even postponed his 21st birthday celebrations because it fell during the run up to some exams.  His missed parties hard work paid off though and on Friday 13th we watched our clever, clever boy receive his Masters in Chemistry

Photo - Proud family at graduation

The rain held off long enough for us to take lots of photos before and after the ceremony.  It was wonderful to see No.1 Son with such a lovely bunch of friends from his course, some of whom were house-mates, lab partners, study buddies and one, who is, currently, significantly more :o)

Layout - Mastering Chemistry - Jimjams

This page was made with my July Counterfeit Kit and utilises a lot of machine stitching ... I love stitching on my pages ... and I'm playing along with Clair's stitchery class here.  It's FREE!  Why not join me?


You can also join in with Sunday Storytelling, either by reading more stories here or telling one yourself and linking it over at High In The Sky.