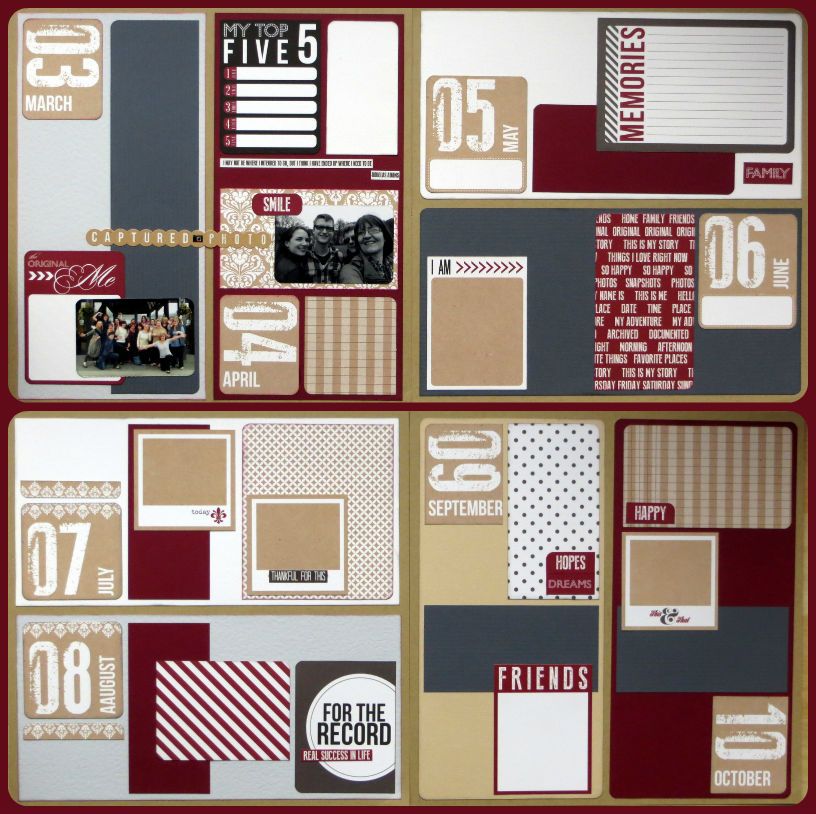
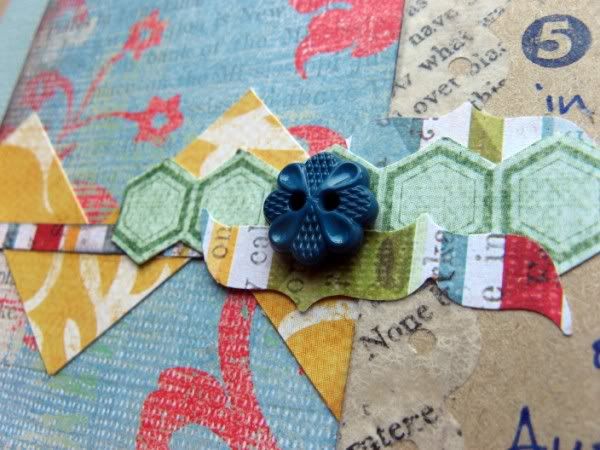
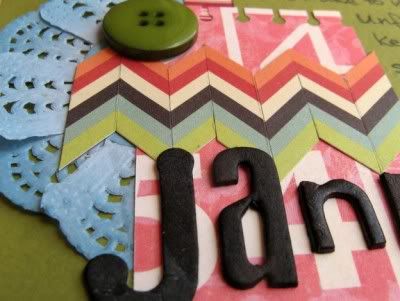
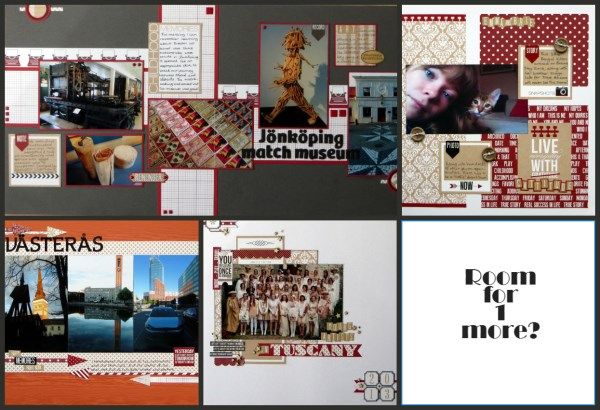
A while back I was lucky enough to get the Hello My Name Is collection pack from S J Crafts to play with. You can see how I started to cut into the collection at the S J Crafts blog.
I've produced three singles and one double from the collection already (here, here, here and here) but I'd kept back the names of the months sheet and the scraps to use on my "Project 12" pages for 2014.
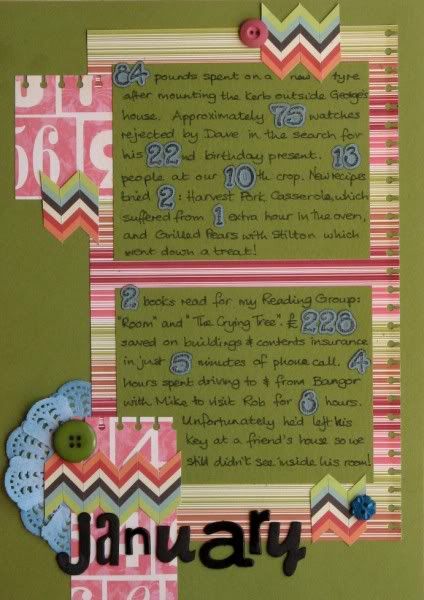
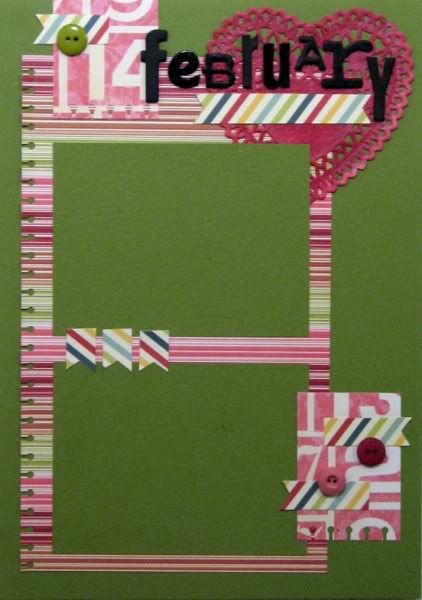
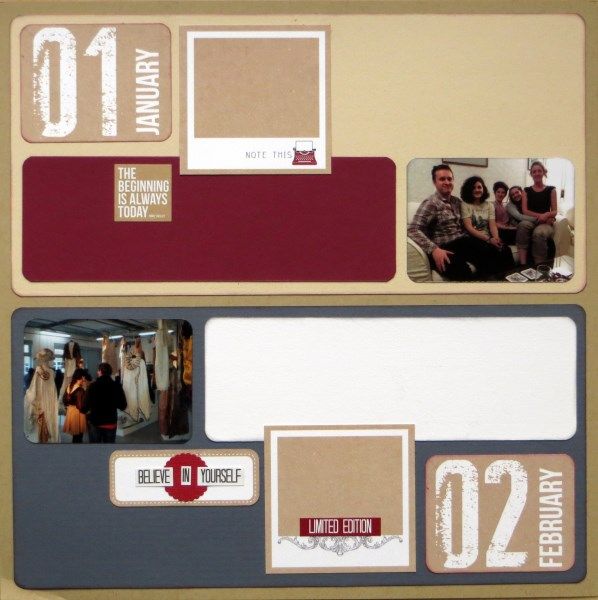
This year I'm scrapping one photo for each month along with notes about our doings ... and squashing two months onto a page. Here are January & February (minus the journalling).
I'll add more embellishments if there's space after I've journalled! I had photos ready for March & April too so they were next.
Although I didn't have a photo ready for May I pressed on with (nearly) all the remaining months. It was actually quicker preparing them without worrying about the photos; I'm sure things will work out later in the year. These pages will fit into two double page protectors that take two 12x12 layouts on each side, leaving me space for a 2014 front page and a page of extra photos too ... I have plenty of scraps left from the collection. Which ties in nicely with Jennifer Grace's challenge to let yourself go ... create without worrying about the ends result (yet)!
One more? Five more! :-D
Do you ever prepare pages before you have the photos ready? Or are you a photo first scrapper?
Showing posts with label Project 12. Show all posts
Friday, 13 June 2014
Wednesday, 17 October 2012
Calendar Catch-up #2
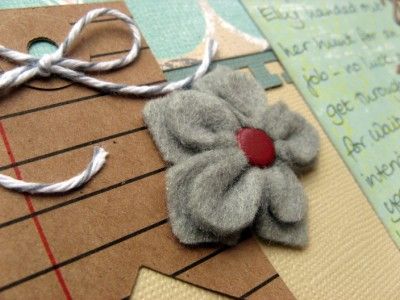
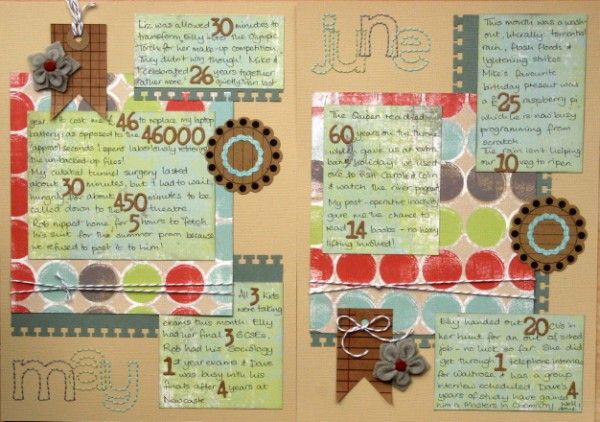
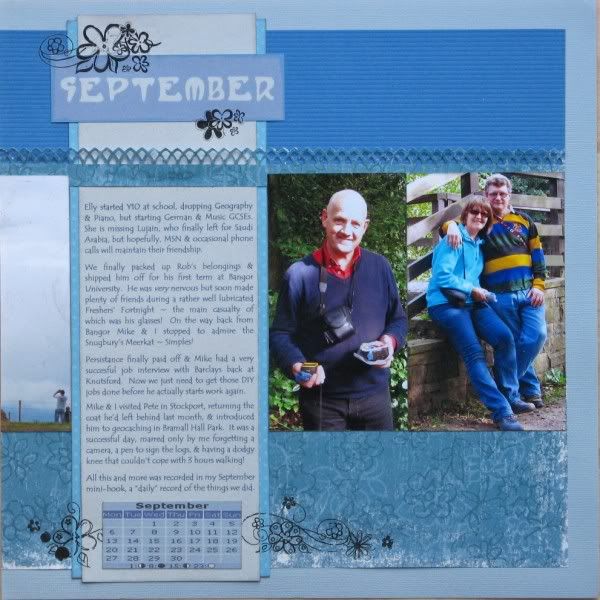
I promised myself that I would get a move on with transferring my Month In Numbers posts (read all about MiN here) onto paper while I was away at The Second Green Buttons' Retreat (the Remix) earlier this month. Armed with print-outs from my blog and some extra notes from the calendar and my diary, I am proud to report that I completed seven missing months' journalling!!! The pages themselves were ready, it was just a question of adding the words and numbers. I won't bore you with them all, but I do have a previously unseen pair of pages made with my September Counterfeit Kit, featuring the stitched lettering that I have been using recently along with some counterfeit tags and fake felt flowers too.
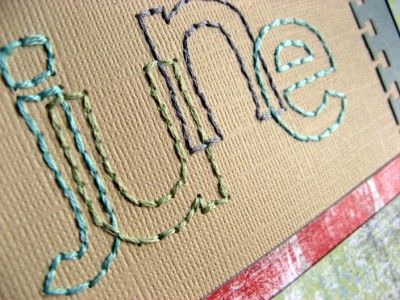
My contribution to the retreat was sharing some hand-stitching ideas including a template for the stitched letters. I have sized the letters to match my diminishing supply of Scenic Route chipboard alphas. Printed out onto a transparency, they can be positioned exactly where you want them to be before you prick through to create your stitching holes. And because the transparency is reasonably durable you can use it again and again.
Do you fancy having a go with my template? I've uploaded it to share here (for some reason it looks like a blank sheet on Google Drive's preview, but it does download properly). Do please leave me a comment and let me know what you make of it.
My contribution to the retreat was sharing some hand-stitching ideas including a template for the stitched letters. I have sized the letters to match my diminishing supply of Scenic Route chipboard alphas. Printed out onto a transparency, they can be positioned exactly where you want them to be before you prick through to create your stitching holes. And because the transparency is reasonably durable you can use it again and again.
Do you fancy having a go with my template? I've uploaded it to share here (for some reason it looks like a blank sheet on Google Drive's preview, but it does download properly). Do please leave me a comment and let me know what you make of it.
Tuesday, 28 August 2012
Calendar Catch-Up
Do you scrap your months?
I'm not great with committing to year-long projects, but I had a whale of a time with Scrapbook & Cards Today's Project 12 in 2010, producing a whole album of double page layouts (some of which I've blogged about) documenting the family activities with photos and words.
2011 however, was an utter failure and I gave up half-way through March ending up with a double-page summary for the whole year instead.
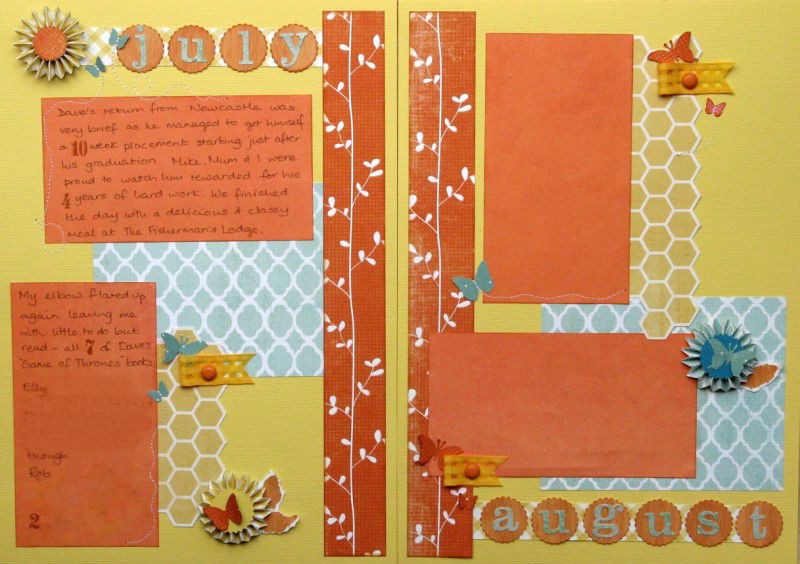
This year I've been playing along with Julie's Month In Numbers and using the blog posts to get my months onto paper. I'm still behind (I've only just published June's MiN post, and not all the numbers have made it onto paper) so I took advantage of the third challenge from the CKCB to take inspiration from a summer garden and get July's numbers scrapped and August's page ready to go.
| I combined this with the weekly challenge on UKScrappers which called for stitching, tearing, recent journalling and non-flat ribbon! |
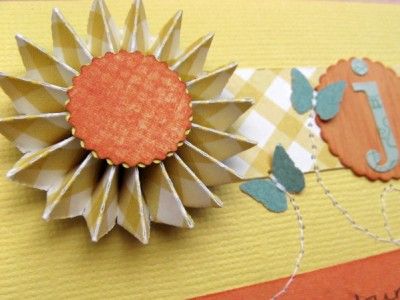
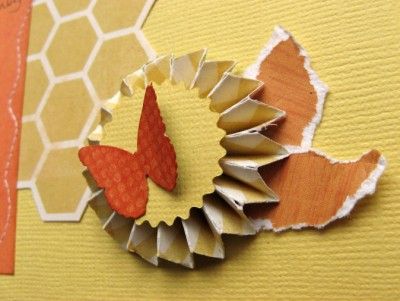
My August Counterfeit Kit was perfect for a summer garden theme with lots of warm, sunny colours, some honeycomb and stem patterns and I adapted the die-cut rosettes to look like the sun (at least I think it does) and flowers by snipping the straight edges at an angle.
These pages cheer me up - they are so sunny - unlike our current weather - torrential rain, strong winds and no sign of the sun at all!
Hopefully your garden inspired crafting will also bring you joy - link up here and I'll come and look
Labels:
CKCB,
DLO,
Layouts,
Month in Numbers,
Project 12,
Project 12-2012,
UKS
Monday, 30 April 2012
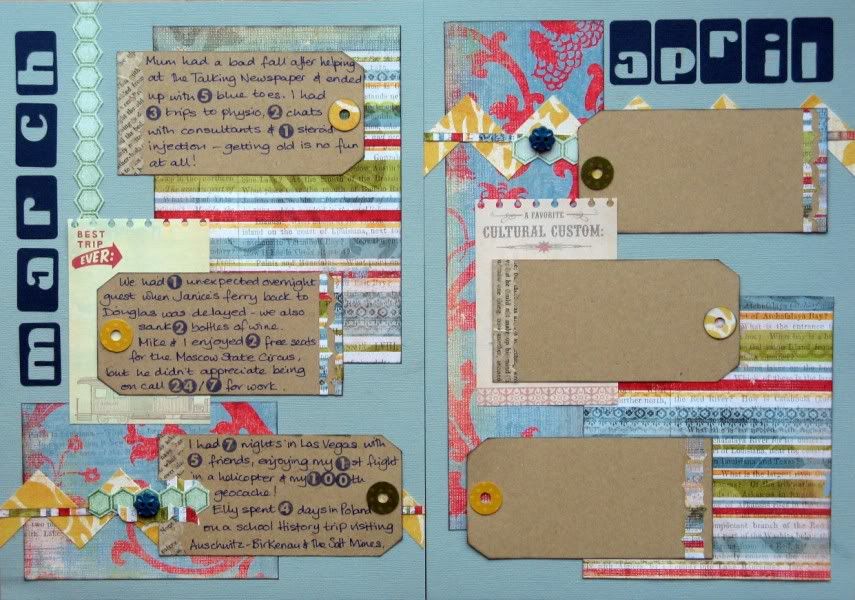
March's Numbers On Paper
| The titles were cut with Man, Oh, Man! Sizzlit dies from the film-strip frame waste from my Bellagio Fountains page |
3, 2 and 1 are for the physio appointments, consultant appointments and steroid injection I had for my various ailments ... getting old is no fun at all!
1 = an unexpected overnight guest, delayed on her way home to the Isle of Man when the ferry company texted her to say that the ferry had broken down ... and was returning to Douglas without any passengers! Luckily she was able to reverse her journey slightly and stay with us. We put the world to rights over a couple of
2 = free tickets for the Moscow State Circus at the theatre where I work occasionally. It was a brilliant show on our tiny stage with laughter at the various clowns, wincing at the contortionist's impossible angles and wonder at the strength, grace and skill of the various acrobatic acts.
24/7 = Hubby's cover at work ... much too restricting even though he wasn't called out!
7 = nights I spent in Vegas with 5 friends. I dared to do my 1st helicopter flight and notched up my 100th geocache while I was there too.
4 = days spent in Krakow by Child No.3 who "enjoyed" her visit to Auschwitz-Birkenau and now wants to get married in the Salt Mines!
There wasn't quite room on my page for some of my other numbered notes so I'll add them here:
4 = books taken to Las Vegas, where, apart from the travel guides, I didn't read a thing! Once I was back in the UK, I did manage to read 1 story about harvesting people for organs to order - yuk - "The Fifth Vial" by Michael Palmer.
45 = minutes spent on the phone to No.2 Son trying to determine what he thinks he's doing at university!
200 = blog posts celebrated with a Tagxedo tutorial.
| I used a border punch to add interest to some more counterfeit washi tape |
Wednesday, 22 February 2012
Hello Doily
The latest challenge over at the Counterfeit Kit Challenge Blog is to use doilies ... not my favourite scrapping resource, but having dipped out of the first challenge this month, I felt obliged to have a go. Actually it was easier than I thought after spotting this page by Kirsty where she'd made a real statement with her doily by painting it black! (The page I made with a black doily is here)
For today's page I used Child No.3's Promarkers to add colour to a small doily, picking out the blue in the striped border I used to make chevrons for my page.
I blogged my first Month in Numbers at the end of January and here it is, down on (Scenic Route's double-sided Sonoma patterned) paper:
My doily had 12 sections to it, so after colouring, I removed 6 of them to see if there was a snowflake vibe to it ... that would be a "No!" ... so I cut it into two sections and layered them to make a dimensional semi-circle. The chevrons are cut from a striped border from Cosmo Cricket's The Boyfriend Collection. My numbers were cut with Sizzlit Ducky Wucky dies from my Kraftcore cardstock, sanded and inked to help the numbers stand out. I added some buttons and a title made from all sorts of random chipboard alphabets pulled from my stash, coloured with black ink to match each other.
In an effort to be ready for February's numbers (and create a facing page for my album), I have half-prepared a page with the same supplies and another border strip from my February Kit along with another Promarker coloured doily - a heart of course!
I'm doubt I will continue with this page design (and doily use LOL) for the rest of the year as I'll get bored, but I'll definitely use matching designs and base colours for each pair of pages - that will work well and save effort!
For today's page I used Child No.3's Promarkers to add colour to a small doily, picking out the blue in the striped border I used to make chevrons for my page.
I blogged my first Month in Numbers at the end of January and here it is, down on (Scenic Route's double-sided Sonoma patterned) paper:
My doily had 12 sections to it, so after colouring, I removed 6 of them to see if there was a snowflake vibe to it ... that would be a "No!" ... so I cut it into two sections and layered them to make a dimensional semi-circle. The chevrons are cut from a striped border from Cosmo Cricket's The Boyfriend Collection. My numbers were cut with Sizzlit Ducky Wucky dies from my Kraftcore cardstock, sanded and inked to help the numbers stand out. I added some buttons and a title made from all sorts of random chipboard alphabets pulled from my stash, coloured with black ink to match each other.
In an effort to be ready for February's numbers (and create a facing page for my album), I have half-prepared a page with the same supplies and another border strip from my February Kit along with another Promarker coloured doily - a heart of course!
I'm doubt I will continue with this page design (and doily use LOL) for the rest of the year as I'll get bored, but I'll definitely use matching designs and base colours for each pair of pages - that will work well and save effort!
Labels:
CKCB,
DLO,
Layouts,
Month in Numbers,
Project 12,
Project 12-2012,
UKS
Sunday, 22 January 2012
All That Glitters
Welcome to the second of January's challenges for the Counterfeit Kit Challenge Blog. This one was to add glitter, bling, sparkle, pizazz to your project! But I had nothing glittery in my January kit - so I had to improvise in the way that we counterfeiters do LOL!
I took some unloved brads, and a beautiful, but not-the-right-colour star-shaped brad from Susanne's swap packaging and got busy with VersaMark ink, some glittery embossing powder and my heat gun:
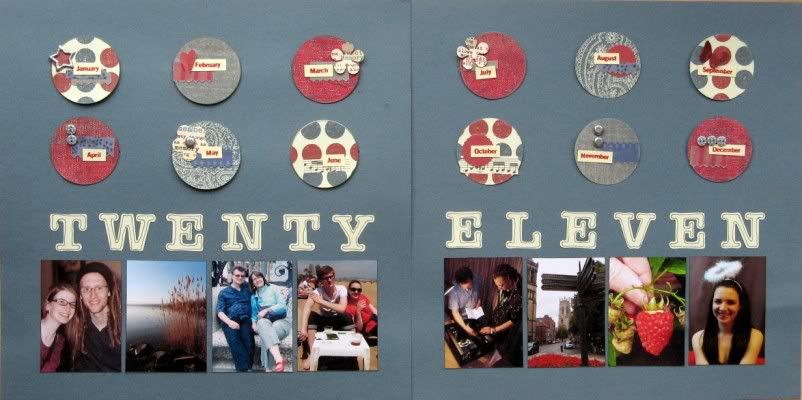
Transformation complete, I set to work on my page. Remember how I failed on my JYC? Well I also gave up on my 2011 Project 12 after only 2½ months! Which was a shame as I love my Project 12 album from 2010, and I love the year in review hidden tags I did for JYC 2009 and JYC 2010. So I decided that I'd do a double page summary for the year, based on a lovely sketch over at Scrap365 magazine's website.
The year was a bit hit and miss with photos (hence the Project 12 fail so early in the year) so I couldn't find one decent photo for every month. Instead I made sure we were all on there with a couple of feature photos representing some of our year's activities.
I had fun decorating each of the circles at the top of the tags - with snippets of my counterfeited Pink Paislee Mistable Ribbons, some of the contents of my counterfeited October Afternoon Flower Sack, a few buttons and the glitterfied brads. My month names are stamps from a Scenic Route set and the free font is Veggieburger.
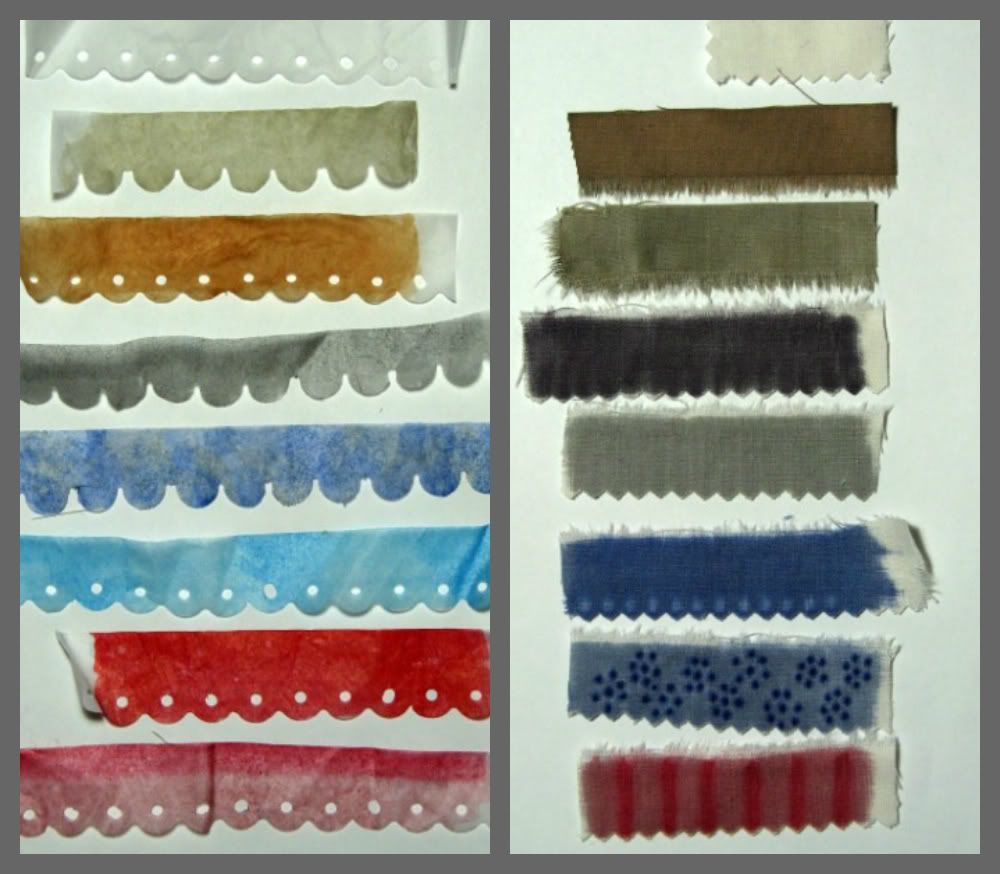
In my January kit I had two ways for counterfeiting the mistable ribbons - fabric (strips torn from an old sheet) and paper (border punched tissue paper) - and I promised to let you know how I got on with them.
I haven't tried actually misting on them (no mists LOL), but started by colouring them with two shades of Fiberscraps Tintz: dabbers which dispense a colour-wash a bit like very watery paint. Both took the colour well, but the tissue paper distorted and crinkled really badly as it dried. It took a while for the fabric to dry, but I used some of it on my 2012 goals page for the first CKCB challenge.
Then I tried Child No.3's Promarkers out on them with much better results: a great range of colours with plenty of decorative potential using the blending pen and contrasting shades. Being alcohol-based, the ink dried really quickly and the tissue paper didn't crinkle at all. It does crease though - I'll have to get the iron out before using any of it! The fabric has taken on a starchy stiffness after colouring with the Promarkers - very different to the untreated or colour-washed samples.
On balance the fabric has worked better and if I had a die-cutting system that could cope with fabric my counterfeiting would be complete!
P.S. I haven't joined in with a Thirsty Thursday Challenge from A Trip Down Memory Lane for a while, but I reckon I've covered P for Polka-dot, Portrait Photos and Parents (that's us!) pretty perfectly ... as well as R for Red and Review!
I took some unloved brads, and a beautiful, but not-the-right-colour star-shaped brad from Susanne's swap packaging and got busy with VersaMark ink, some glittery embossing powder and my heat gun:
Transformation complete, I set to work on my page. Remember how I failed on my JYC? Well I also gave up on my 2011 Project 12 after only 2½ months! Which was a shame as I love my Project 12 album from 2010, and I love the year in review hidden tags I did for JYC 2009 and JYC 2010. So I decided that I'd do a double page summary for the year, based on a lovely sketch over at Scrap365 magazine's website.
The year was a bit hit and miss with photos (hence the Project 12 fail so early in the year) so I couldn't find one decent photo for every month. Instead I made sure we were all on there with a couple of feature photos representing some of our year's activities.
I had fun decorating each of the circles at the top of the tags - with snippets of my counterfeited Pink Paislee Mistable Ribbons, some of the contents of my counterfeited October Afternoon Flower Sack, a few buttons and the glitterfied brads. My month names are stamps from a Scenic Route set and the free font is Veggieburger.
In my January kit I had two ways for counterfeiting the mistable ribbons - fabric (strips torn from an old sheet) and paper (border punched tissue paper) - and I promised to let you know how I got on with them.
I haven't tried actually misting on them (no mists LOL), but started by colouring them with two shades of Fiberscraps Tintz: dabbers which dispense a colour-wash a bit like very watery paint. Both took the colour well, but the tissue paper distorted and crinkled really badly as it dried. It took a while for the fabric to dry, but I used some of it on my 2012 goals page for the first CKCB challenge.
| From top to bottom: un-touched original tissue or sheet strip 2 samples with Tintz 5 samples with Promarkers |
On balance the fabric has worked better and if I had a die-cutting system that could cope with fabric my counterfeiting would be complete!
P.S. I haven't joined in with a Thirsty Thursday Challenge from A Trip Down Memory Lane for a while, but I reckon I've covered P for Polka-dot, Portrait Photos and Parents (that's us!) pretty perfectly ... as well as R for Red and Review!
Labels:
ATDML,
CKCB,
DLO,
Instructions,
Layouts,
Project 12,
Project 12-2011,
Scrap365
Saturday, 19 February 2011
Saturday Sneak Peeks
I've been busy with my February Counterfeit Kit again. Unfortunately, I can only share one of the three projects I've produced. One project is a page for a Chinese Whisper challenge over on UKScrappers (I received a page by e-mail, I scraplifted it and passed it on to the next person in the chain) so has to be kept secret until the chain of scraplifting is complete. The two frame stamps in the kit have been put to good use on this page.
One project is a page for Sarah's Cards Blog (I won a prize there in January and part of the payback is producing a page for the March challenge). For some reason, despite having constructed a generous kit, I cannot get out of the habit of gutting everything. I shall have a pizza box full of off-cuts at this rate. For both of these pages I've used Sizzlit dies for my titles - does anyone ever have enough title alphas in a kit?
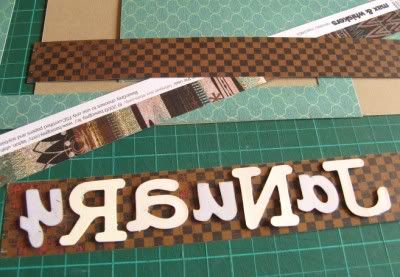
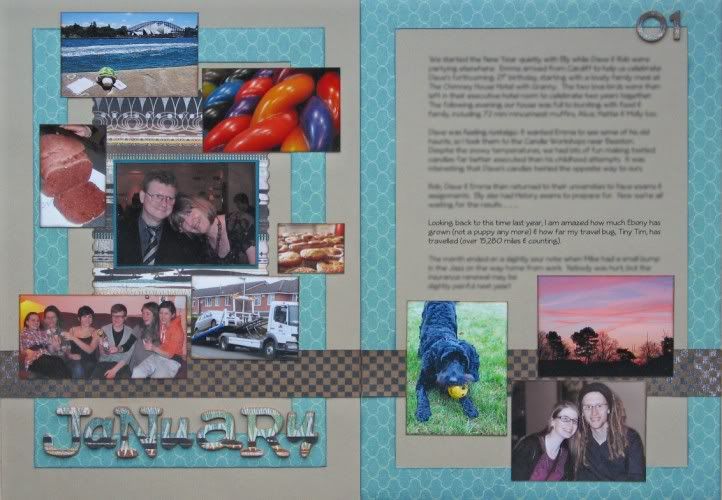
The one thing I can reveal is my January spread for this year's Project 12 album: more gutting in evidence plus the use of the reverse of the manufacturer's strip. Parsimonious? Moi? I've added some inks, bare chipboard alphas/numbers from my stash and used a fancy trimmer blade; everything else is from the kit.
I decided not to follow the provided Pagemaps sketches this year and try out A4 pages for a change. I'm planning for each month to have a similar collage page and journalling page, depending on what we do.
So that brings my tally of pages from this wonderful kit to 6 pages and there are still loads of papers and embellishments left (not to mention all the offcuts from the gutting!). My next project is a sketch challenge from the CKCB itself here. Watch this space!
One project is a page for Sarah's Cards Blog (I won a prize there in January and part of the payback is producing a page for the March challenge). For some reason, despite having constructed a generous kit, I cannot get out of the habit of gutting everything. I shall have a pizza box full of off-cuts at this rate. For both of these pages I've used Sizzlit dies for my titles - does anyone ever have enough title alphas in a kit?
The one thing I can reveal is my January spread for this year's Project 12 album: more gutting in evidence plus the use of the reverse of the manufacturer's strip. Parsimonious? Moi? I've added some inks, bare chipboard alphas/numbers from my stash and used a fancy trimmer blade; everything else is from the kit.
I decided not to follow the provided Pagemaps sketches this year and try out A4 pages for a change. I'm planning for each month to have a similar collage page and journalling page, depending on what we do.
So that brings my tally of pages from this wonderful kit to 6 pages and there are still loads of papers and embellishments left (not to mention all the offcuts from the gutting!). My next project is a sketch challenge from the CKCB itself here. Watch this space!
Labels:
DLO,
Layouts,
Project 12,
Project 12-2011,
Sarah's Cards,
UKS
Tuesday, 1 February 2011
All Squared Away!
Feelings always run high when something comes to an end ... reaching the bottom shirt in the ironing basket (relief), watching the credits roll after Mama Mia (glee), swallowing the final chocolate in the box (guilt), casting off the last row of stitches (pride), storing the BBQ at the back of the shed (sadness), completing a scrapbooking project (satisfaction) ...
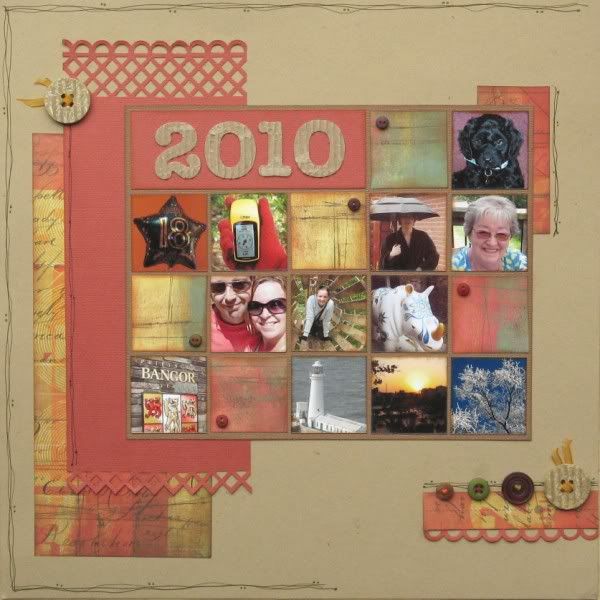
So last night I was super satisfied when I completed the introductory page for my Project 12 album for 2010. The album is filled with double page spreads, one for each month, but that left a single space at the front of the album. The January challenge over at Sarah's Cards was to do some sort of Year in Review or Highlight(s) of the Year page and this fitted perfectly.
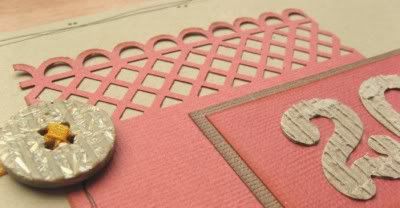
I also managed to score some "points" over at UKS in line with this week's challenge as I used a sketch, ribbon, 10 buttons, re-cycled cardboard packaging, and doodled on my page. Papers are from an old Basic Grey 8"x8" Sublime pad, borders are done using my Martha Stewart wide punch and 2010 is cut using Sizzlits Round-a-bout dies.
So last night I was super satisfied when I completed the introductory page for my Project 12 album for 2010. The album is filled with double page spreads, one for each month, but that left a single space at the front of the album. The January challenge over at Sarah's Cards was to do some sort of Year in Review or Highlight(s) of the Year page and this fitted perfectly.
Labels:
Layouts,
Project 12,
Sarah's Cards,
UKS
Thursday, 20 January 2011
How Times Have Changed
When I first started scrapbooking, back in 2006, I was scared of patterned paper! I really didn't know how to choose the "right" one for my photos; I didn't see the point of double-sided papers; I didn't dare combine different patterns on one page.
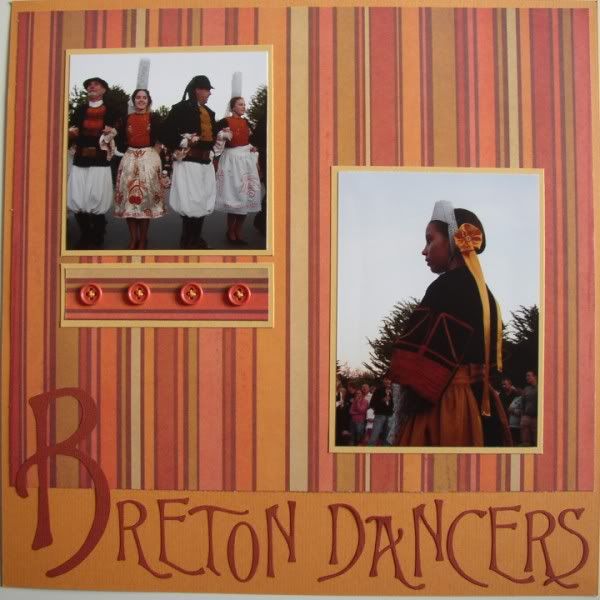
Here is the first ever page that I made, with a LOT of guidance from my Dutch friend José: one sheet of stripy paper, a full page and a few buttons.
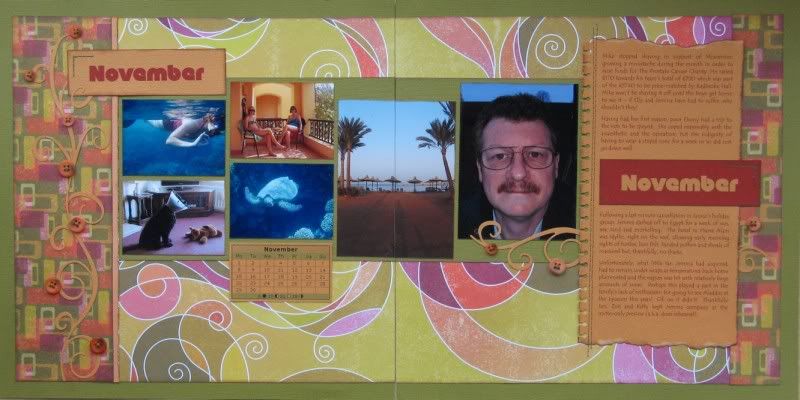
Now, I'm not saying that I know how to combine patterned papers; I'm certainly no expert, but they no longer scare me in quite the same way. I do still love buttons as well as stripy papers, but take a look at how I've coped with these scary Scribble Scrabble papers on my November spread for Project 12:
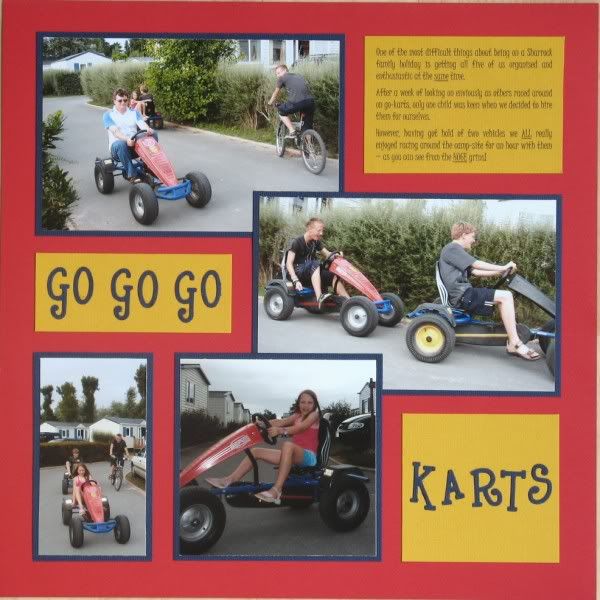
Back in 2006, I also wanted to fill the whole page with photos and information; the idea of white space had not entered my crafting consciousness. Here is the second ever page that I scrapped, this time without José's help: note the complete lack of patterned paper, zero embellishments and the multitude of pictures squashed into the available space (all neatly lined up)!
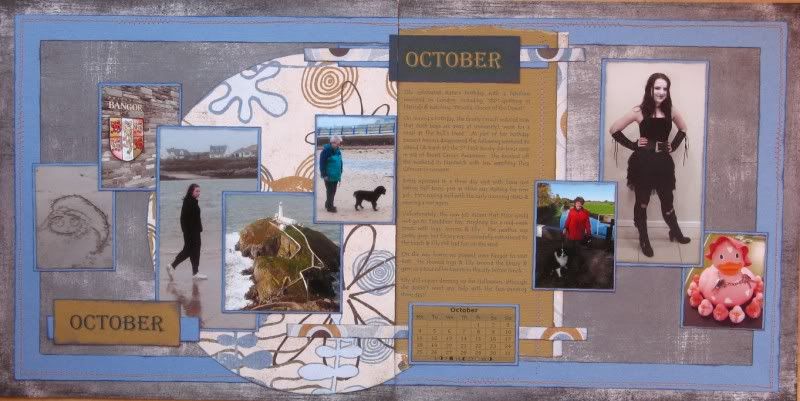
Fast forward to 2011 and here's another page without embellishments, but with lots of Basic Grey patterned paper, lots of photos and nothing (intentionally) on the same horizontal or vertical line - October's Project 12.
Has your scrapbooking changed since you started?
I wonder what the contrasts in my pages will be in another few years.
Here is the first ever page that I made, with a LOT of guidance from my Dutch friend José: one sheet of stripy paper, a full page and a few buttons.
Now, I'm not saying that I know how to combine patterned papers; I'm certainly no expert, but they no longer scare me in quite the same way. I do still love buttons as well as stripy papers, but take a look at how I've coped with these scary Scribble Scrabble papers on my November spread for Project 12:
Fast forward to 2011 and here's another page without embellishments, but with lots of Basic Grey patterned paper, lots of photos and nothing (intentionally) on the same horizontal or vertical line - October's Project 12.
Has your scrapbooking changed since you started?
I wonder what the contrasts in my pages will be in another few years.
Labels:
DLO,
Layouts,
Project 12
Saturday, 15 January 2011
That Was The Year That Was!
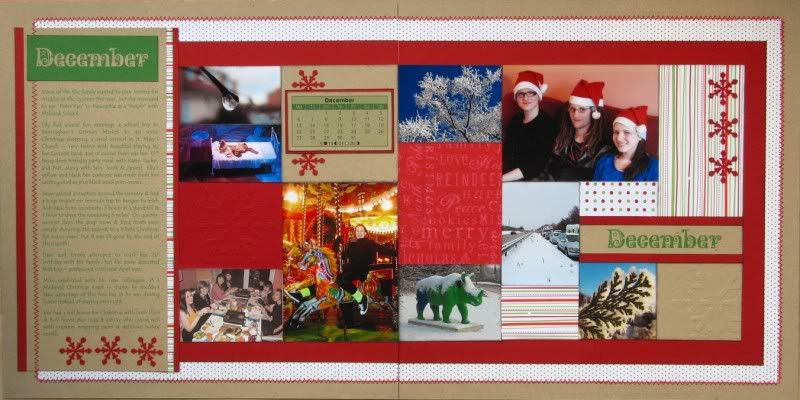
During 2010 I have been joining in with Project 12 and completing a double page spread of photos and journalling summarising each month of the year. I didn't have a coordinated set of papers to use, but did do still have a mini-mountain of pretty papers and vowed to make a bit of a dent in them. I stuck fairly closely to the Pagemaps sketches for each month but varied the number and arrangement of photos depending on how active we'd been and how often I'd forgotten to take my camera with me!
I finally finished my December pages this week as I was in a Christmassy mood with my final JYC pages and again I've combined it with a UKS weekly challenge.
If you're interested in joining in this year, the details can be found by clicking on the Project 12 logo on my sidebar or pop over to Scrapbook and Cards Today and look for the Project 12 logo there.
Shame that I can't say that the album is finished as I still have November and October to do ... better get on with them NOW!
ETA - and they're done too YAY!
I finally finished my December pages this week as I was in a Christmassy mood with my final JYC pages and again I've combined it with a UKS weekly challenge.
If you're interested in joining in this year, the details can be found by clicking on the Project 12 logo on my sidebar or pop over to Scrapbook and Cards Today and look for the Project 12 logo there.
Shame that I can't say that the album is finished as I still have November and October to do ... better get on with them NOW!
ETA - and they're done too YAY!
Labels:
DLO,
Layouts,
Project 12,
UKS
Thursday, 21 October 2010
Project 12
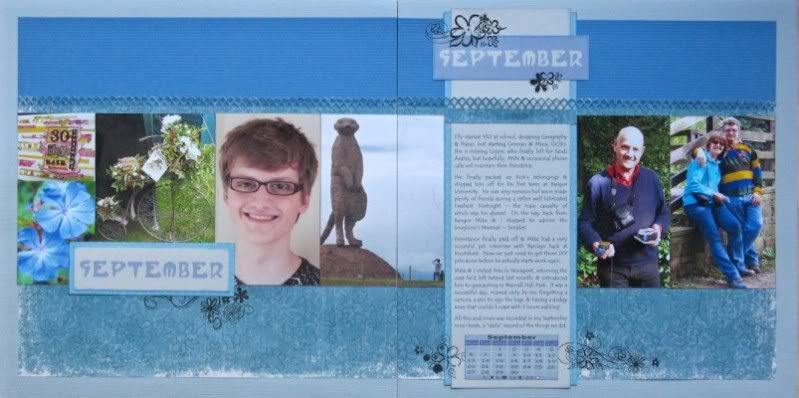
I have just about been keeping up with this year-long project hosted on Scrapbook & Cards Today run by Davinie. The finished album will be a brilliant record of this family's life during 2010 and gives me a chance to chart the changes that have taken place as well as celebrate the little things that might not merit a whole 12x12 page to themselves. Here's my page for September:
This DLO gave me a lot of headaches to be honest and I'm slightly fed up with it! Firstly, and very embarrassingly for a mathematician, I miscalculated the widths of the photos I wanted to include when I was printing them (the Pagemaps sketch just wanted three 6"x4" landscape photos but I had loads more than that), then, after discarding two photos, I over-cropped some of the rest, then I ran out of glue, then the new glue glooped onto one of the photos, then the Kaisercraft rub-ons refused to rub-ON cleanly ...
... as I was saying over on Alexa's blog - I am trying to embrace imperfections, but this was a bit too much at midnight!
Anyway it's done now, in time for the deadline I hope (at least if it's in Canadian time LOL) and I can start thinking about what to scrap for October's page ...
This DLO gave me a lot of headaches to be honest and I'm slightly fed up with it! Firstly, and very embarrassingly for a mathematician, I miscalculated the widths of the photos I wanted to include when I was printing them (the Pagemaps sketch just wanted three 6"x4" landscape photos but I had loads more than that), then, after discarding two photos, I over-cropped some of the rest, then I ran out of glue, then the new glue glooped onto one of the photos, then the Kaisercraft rub-ons refused to rub-ON cleanly ...
... as I was saying over on Alexa's blog - I am trying to embrace imperfections, but this was a bit too much at midnight!
Anyway it's done now, in time for the deadline I hope (at least if it's in Canadian time LOL) and I can start thinking about what to scrap for October's page ...
Labels:
DLO,
Layouts,
Project 12,
Project 12-2010
Saturday, 18 September 2010
Ever get the feeling?
Do you ever get the feeling that something wasn't meant to be? When, no matter what you try, things keep going wrong? I had that last night with my scrapbooking. I was desperately trying to catch up with my Project 12 pages ~ the deadline for August is the 20th, and I've missed it for the last three months, so I wanted to do better with this one. I also haven't scrapped any LSNED pages since the catch up at Golborne, leaving me 7 days behind with that! I was looking forward to an evening's scrapping: Hubby and No.2 Son were meant to be out with their respective mates, Child No.3 could get on with her homework or watch TV ... only it didn't work out like that. Hubby did indeed swan off to enjoy himself, leaving me to deal with hormonal histrionics, mine included :o) Several hours of tears, tantrums, hugs, kisses and calm conversation later I managed to sit down in front of my stash!
I was tired, the light was bad, the table was cluttered ... which could explain why I cut the paper wrong, I cut the cardstock wrong, I had to print the journalling three times before it was straight and finally the sewing went wrong! Or maybe I should have just picked up a book or watched TV myself?
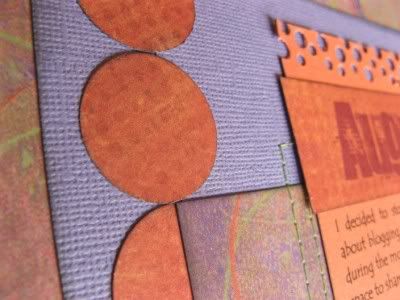
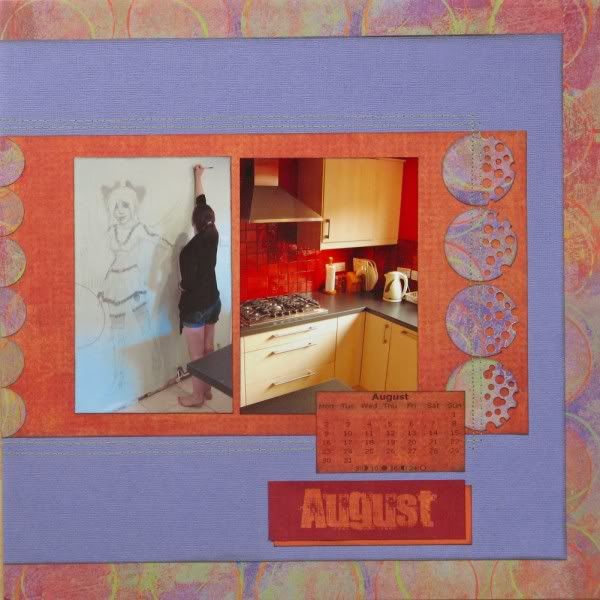
Luckily I have become adaptable with my scrapping (there was a time when I'd have started from scratch after such a litany of disasters) and I'll let you into a little secret - that line of 1" circles is there for a reason!
The colour combo is a bit on the bright side, but it was determined by the (rather ancient) BG Solar Eclipse & Tangerine papers that I chose to use up.
I've run out of border punches to use in this album (hubby please note my birthday wishlist is up to date in plenty of time for next month!) so had to resort to cheese-holing with my Big Bite!
Right, better get catching up with LSNED now - but first to wake up the teenagers!
I was tired, the light was bad, the table was cluttered ... which could explain why I cut the paper wrong, I cut the cardstock wrong, I had to print the journalling three times before it was straight and finally the sewing went wrong! Or maybe I should have just picked up a book or watched TV myself?
Luckily I have become adaptable with my scrapping (there was a time when I'd have started from scratch after such a litany of disasters) and I'll let you into a little secret - that line of 1" circles is there for a reason!
The colour combo is a bit on the bright side, but it was determined by the (rather ancient) BG Solar Eclipse & Tangerine papers that I chose to use up.
I've run out of border punches to use in this album (hubby please note my birthday wishlist is up to date in plenty of time for next month!) so had to resort to cheese-holing with my Big Bite!
Right, better get catching up with LSNED now - but first to wake up the teenagers!
Labels:
DLO,
Layouts,
Project 12,
Project 12-2010
Subscribe to:
Posts (Atom)