Welcome to the final post of the August Counterfeit Kit Challenge Blog
Members' Blog Hop (or CKCBMBH for short)! If you've been hopping along with other counterfeiters (and reached me from Milissa) then you will already know that we are sharing the inspiration we took from geocaching by using a hidden element.
I love geocaching and recently managed to add a couple of Scandinavian holiday finds to my tally of caches. No holiday photos are printed yet, so I decided to use my August Counterfeit Kit for a layout with a hidden photo and some extra hidden journalling. (Apologies for the crummy photos ... Child No.3 took MY camera on HER holiday and I'm struggling with the one she left behind)
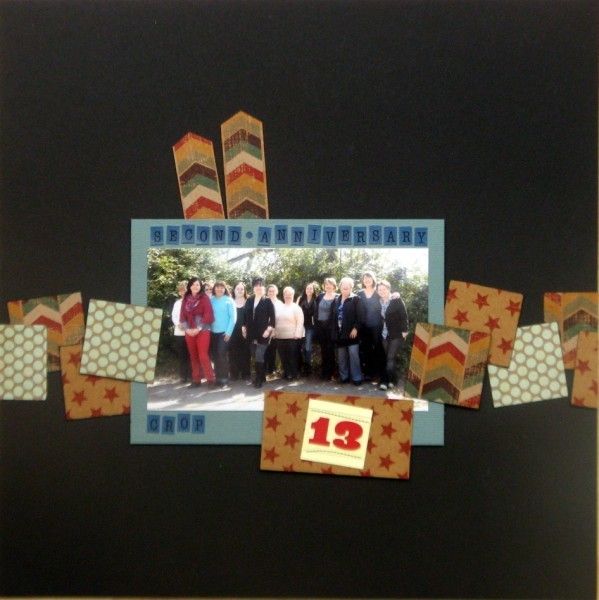
On the face of it a layout of 13 ladies celebrating the second anniversary of our scrapbook crop back in April.
Very prim and proper.
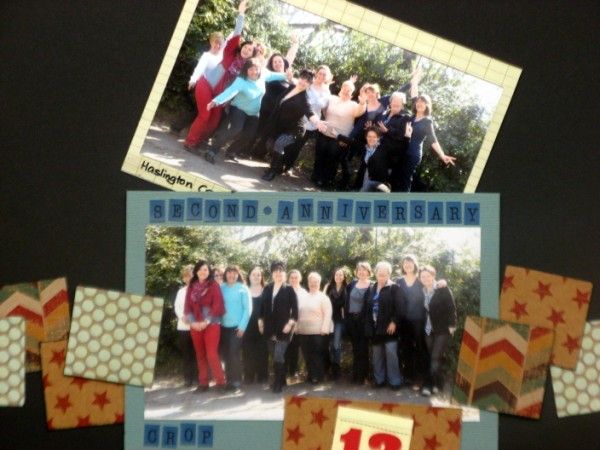
Except that prim and proper is so boring ... which meant we had to include a "silly" photo that was much more typical:
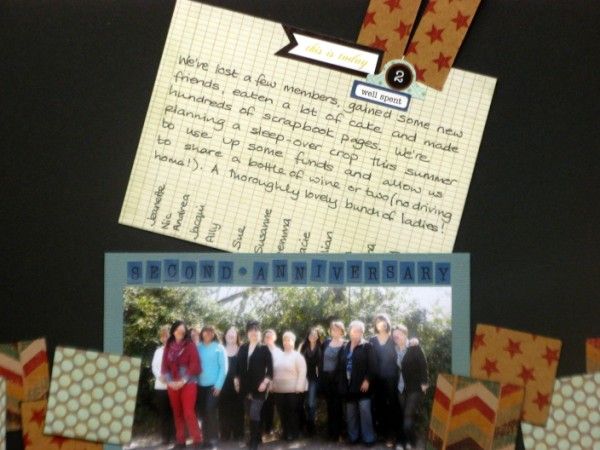
And if you flip the photo over there's some journalling as well as a list of everyone's names (given that I made a mistake writing them out when I made the page ... I will certainly be grateful for it in a few years once even more of my little grey cells have gone!).
If you've missed anyone on the CKCBMBH you can find the full list over on the Counterfeit Kit Challenge Blog - why not join in yourself next month?!
Saturday, 24 August 2013
Wednesday, 21 August 2013
Holiday Scavenging - (Almost) All In A Danish Day
I'm back! From a trip down memory lane, attending a reunion with friends and colleagues from my first job abroad in Västerås, Sweden. Hubby and I combined it with a road trip from Copenhagen to Stockholm for our first holiday without children for many a year. According to my pedometer, we walked 19km (nearly 12 miles) around Copenhagen on our first day ... partly because I was trying to squeeze in a sunset shot for Rinda's Summer 2013 Scavenger Hunt and the sun didn't set until around 9 in the evening! We'd started 12 hours earlier with a theatre on our way to the Tourist Information Centre:
With only one day in Copehagen we didn't have time for any museums or exhibitions, but this one looked interesting:
Instead, we chose a walking tour of the city and spotted some fire engines on our way to the meeting point:
We were entertained, informed and exhausted by our tour, but it did mean we notched up half a dozen photos for the hunt including a wistful photo of somewhere to sit and rest:
Hubby & I love the Scandinavian dramas on BBC4 and were glad to pass by the eponymous parliament building from the series "Borgen".
Copenhagen was full of towers but we agreed that this was one of the prettiest and it apparently affords some of the best views of the city ... but we didn't have the energy to tackle the 400 steps (including 150 on the OUTside)!
Hubby and I both found this sign amusing and wondered if many dogs paid attention:
Even more odd than a beach in the centre of a city was a submarine out of water - an interesting museum if we ever return to Copenhagen:
Our walking tour finished by the Amalienborg Palaces, guarded by several of these fellows marching (with folded arms!) across the beautiful mosaics:
We'd spotted the submarine whilst zooming in for the windmills, but later in the day we came across a "proper" windmill on the green ramparts of Kastellet near the Little Mermaid.
Copenhagen is remarkably peaceful for a capital city; the traffic isn't too intense as nearly 40% of the inhabitants cycle rather than use their cars and the place is awash with green spaces. The summer weather meant that the parks were full of relaxed people, some of whom were snoozing on a VERY hot afternoon:
They wouldn't have been lying there 30 minutes later because a thunderstorm was set to cool us all down briefly. Luckily we'd moved on to the shelter of the shopping district.
A quick change at the hotel into dry clothes and we enjoyed a romantic, candlelit dinner for two:
Followed by another walk to wait for the sunset:
Phew - thanks for sticking with me for 14 photo finds in 12 hours. Part two of my Holiday Hunt (The Swedish Grand Finale) coming soon! is posted here.
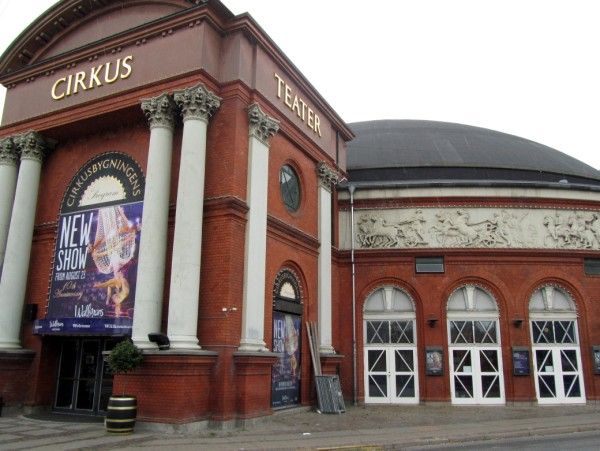 |
| #2 - A Theatre For Performing Arts |
 |
| #20 - A Dinosaur |
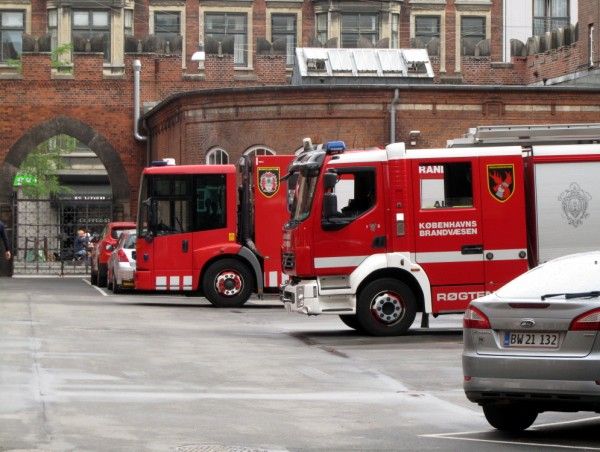 |
| #15 - Fire Engines |
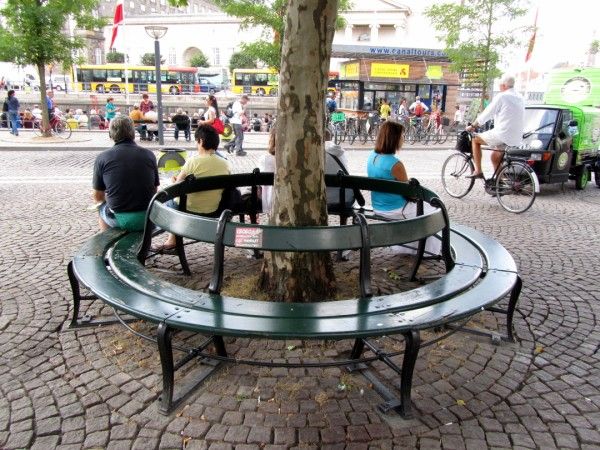 |
| #10 - A Bench |
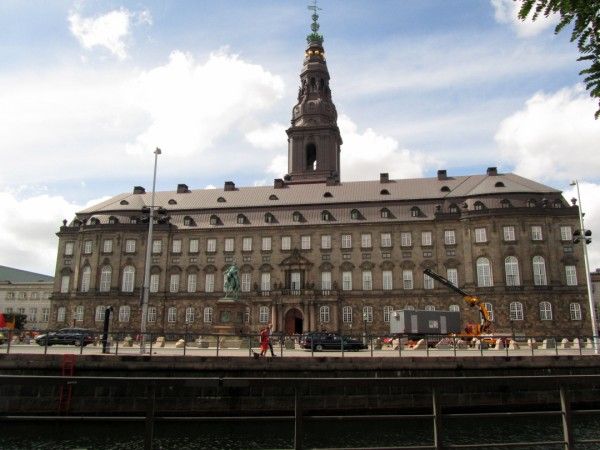 |
| #3 - Danish Parliament Building |
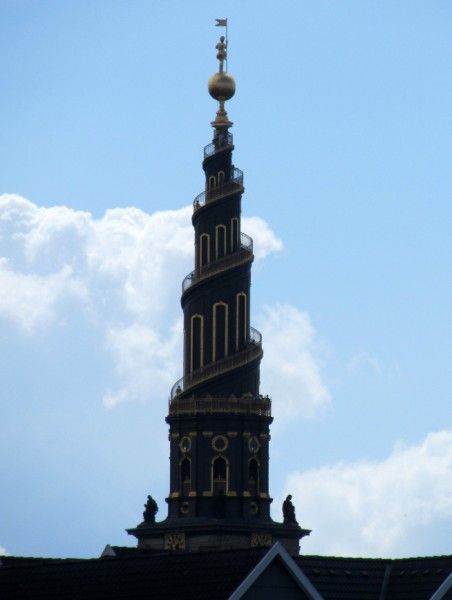 |
| #8 - A Tower |
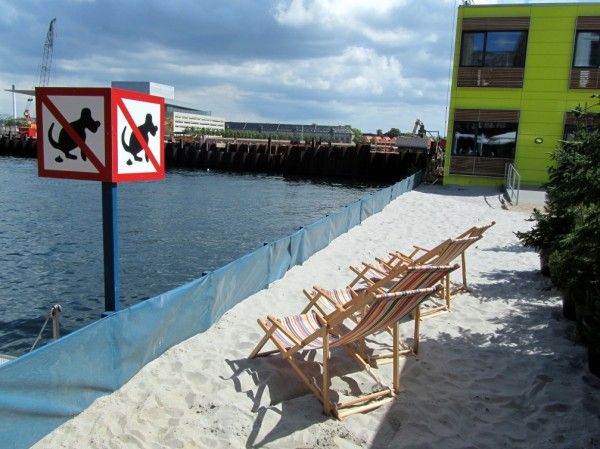 |
| #7 - An Amusing Sign |
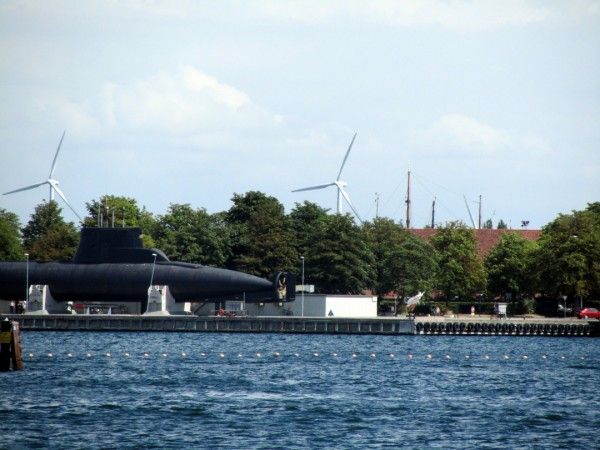 |
| #9 - Something Out Of Place |
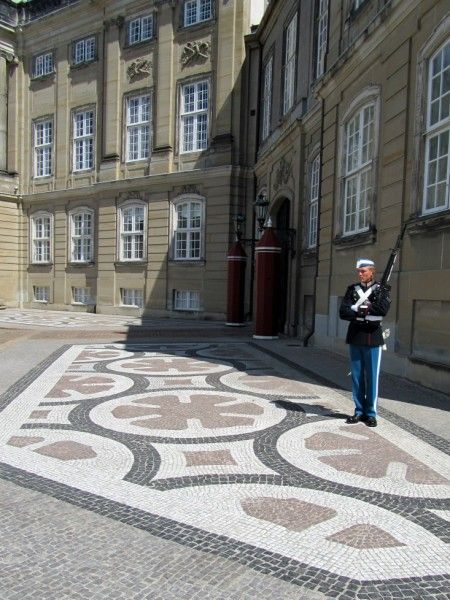 |
| #14 - A Mosaic |
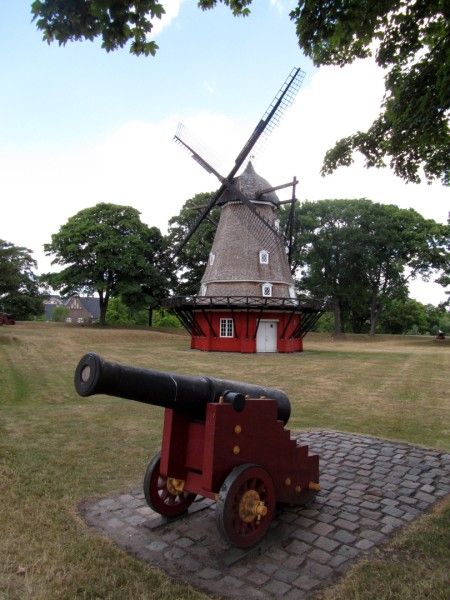 |
| #16 - A Windmill |
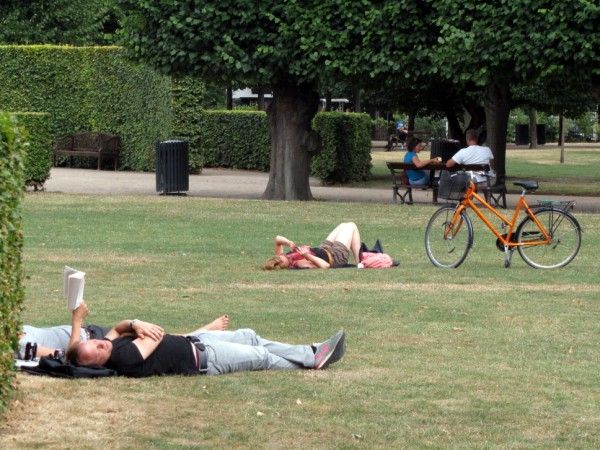 |
| #6 - A Napper |
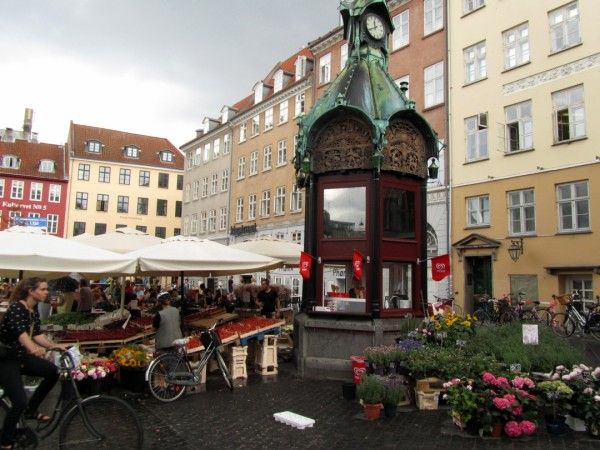 |
| #1 - An Open Air Market |
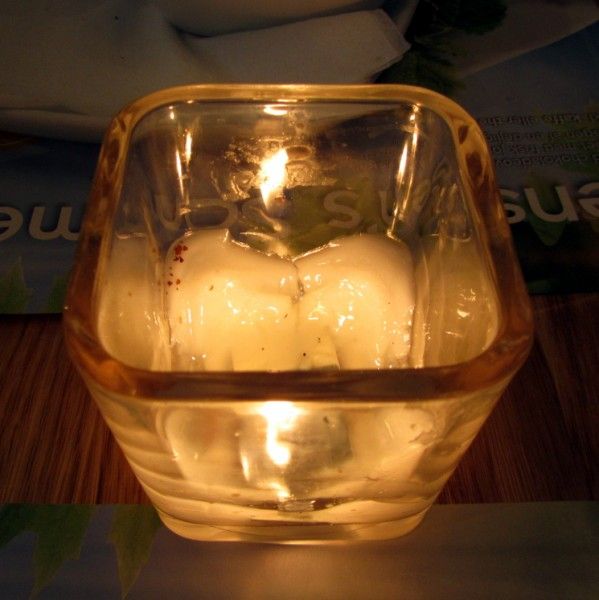 |
| #17 - A Candle |
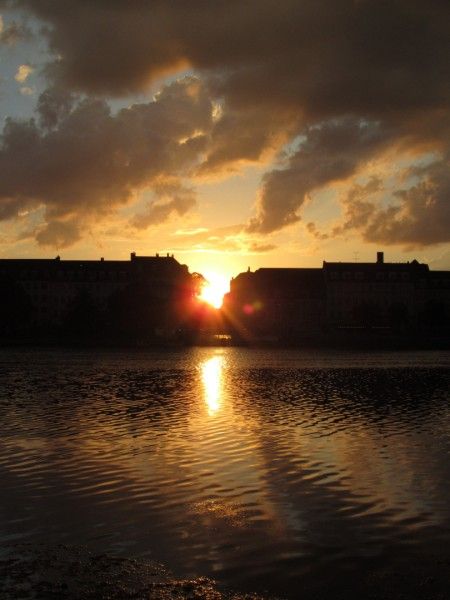 |
| #5 - A Sunset |
Sunday, 4 August 2013
Ups & Downs
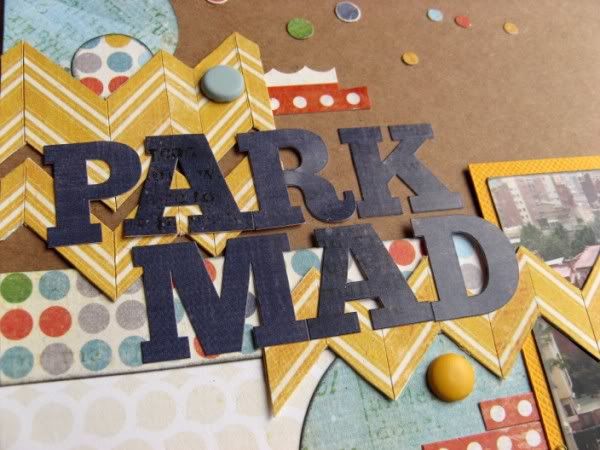
I'm not really here ... this is a scheduled post. I wanted to share some more funky chevrons with you (made like this, but with varying width strips). This was for A Trip Down Memory Lane when I was their Guest Designer back in March 2012. Unfortunately their DT gallery had a melt-down shortly afterwards and they haven't reinstated the pictures from March 2012 or earlier!
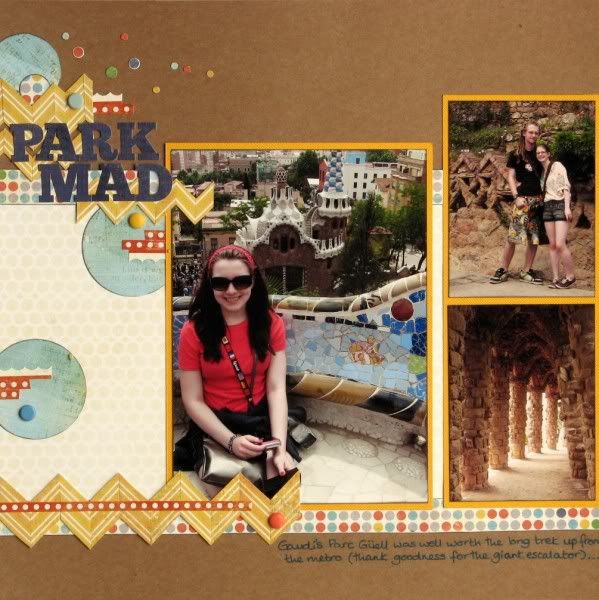
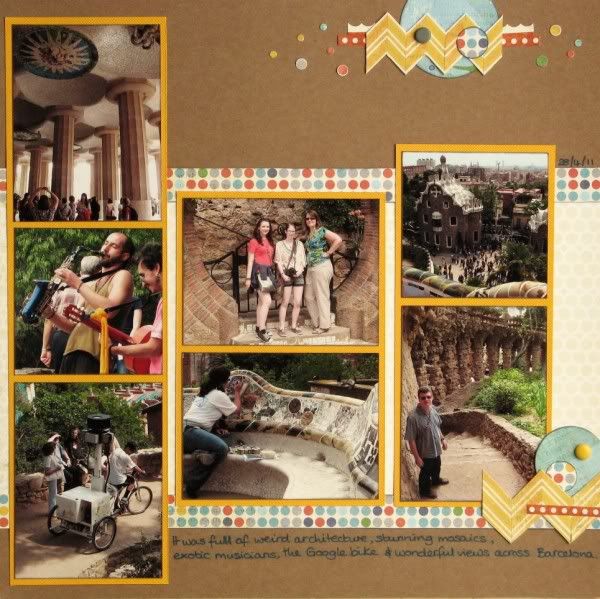
ATDML were kind enough to send me a selection of Echo Park About A Boy papers and stickers and I had fun making 5 pages from the supplies, including this double pager about Parc Güell in Barcelona.
We had a lovely day there in the Spring of 2011, celebrating our Silver Wedding with the whole family. We even saw a Google bike surveying the park ... AND it saw us!!
The images appeared sometime this year on the park's Streetview and I can see our group buying earrings at the top-most viewpoint and I'm caught on camera again taking photos of the view further downhill with my (im)patient family in the background about half an hour later!!! Shame that the photos have to have the faces obscured.
I also wanted to remind you that the Counterfeit Kit Challenge Blog's first August challenge is up today. If you fancy joining in with the Member Blog Hop on August 24th - this is the one to look at! I'll definitely be having a go, providing I can get some good photos while I'm on holiday! Hope to see you there!
Thursday, 1 August 2013
Small Is Beautiful
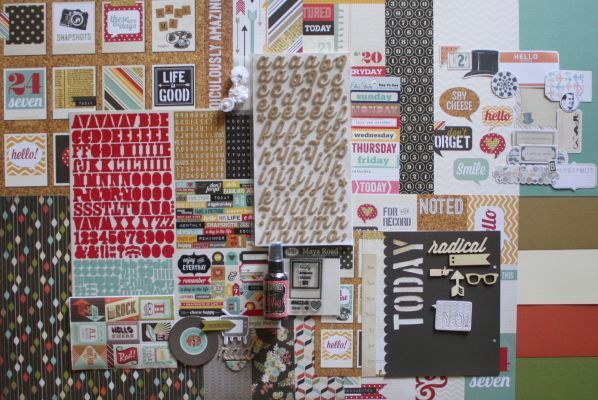
Welcome to another month of kit counterfeiting with the Counterfeit kit Challenge Blog. This month we are welcoming Heidi as our guest designer to start off the counterfeiting and if you hopped here via Dawn you will already know that the funky kit-to-copy this month is Scrapbooking From The Inside Out's Confidence kit.
As ever, I didn't have any of those supplies (partly because I have yet to buy ANY scrapbooking stash at all this year, despite having a store gift card to use - counterfeiting really does save the pennies!) ... and so I needed to get creative.
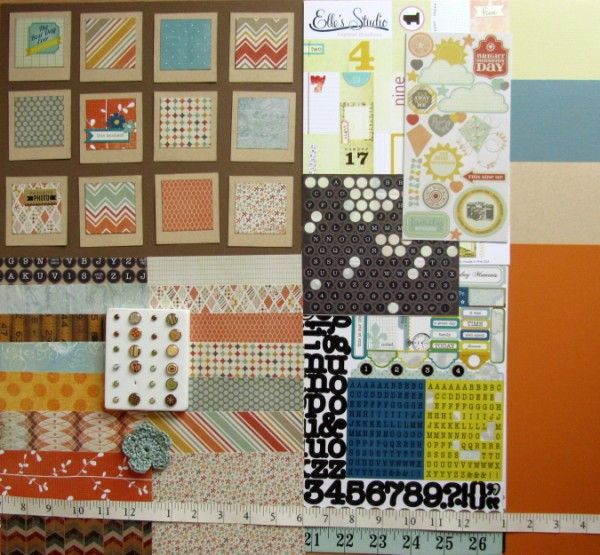
What I did have was a half-sheet of typewriter keys (letters rather than numbers as in the original kit) ... and decided to challenge myself by restricting my kit to a selection of 6x6 papers (and matching diminutive scraps).
Supplies:
2 6" squares of Just My Type EP For The Record 2
Various scraps including:
K& Co's Folded Wood Tape Measure
MME Ooh La La collection Happy Days (green floral reverse)
Basic Grey Archaic Fosssil
MME Branches (teal and white dots reverse) from On The Bright Side
MME Happy Days Super Star (red stars reverse)
2 sheets each of seven designs from Pink Paislee's Prairie Hill 6x6 pad
Elle's Studio Layered Numbers
Pink Paislee Prairie Hill Element Stickers
Crate Paper Storyteller Typewriter alphas
For The Record 2 Alpha & Element Stickers
Basic Grey Archaic decorative brads
Crochet Flower
Tapemeasure decorative tape (manufacturer unknown)
Cardstock in Brown, Cream, Blue, light Kraft and Terracotta
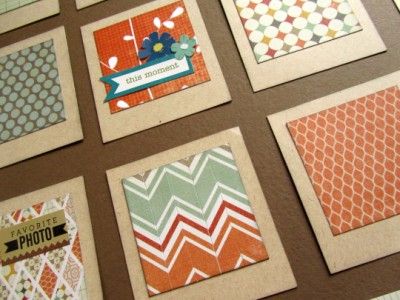
I made my own faux Polaroids by layering 2" squares of patterned paper onto 2½"x2¾" rectangles of light kraft cardstock. I'll add some more stickers, punched shapes, stamped words or whatever when I use them- another joy of counterfeiting is that I get to choose exactly what I want!
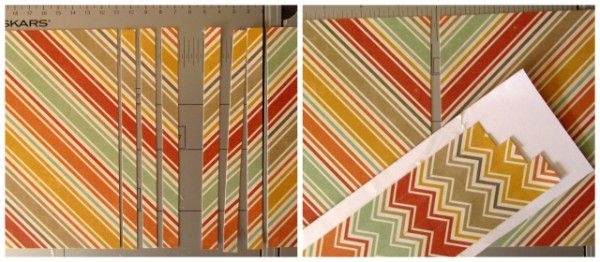
This month I wanted to create some chevron paper from my diagonally striped sheets. One of the two (identical) 6x6 sheets was rotated 90° so that the stripes formed a V when placed side by side. I trimmed three ½" strips from the adjoining edges and then stuck them alternately onto a scrap of paper. I may also use this technique with variable width strips because it creates a funky chevron pattern that I've had fun with before.
Well, that's your lot from me today, so please hop over to Julene to see what she's put together from the inside out!
Labels:
Blog Hop,
CKCB,
CKCB Kit,
Instructions
Subscribe to:
Comments (Atom)
