Tuesday, 24 December 2013

Festive Greetings!

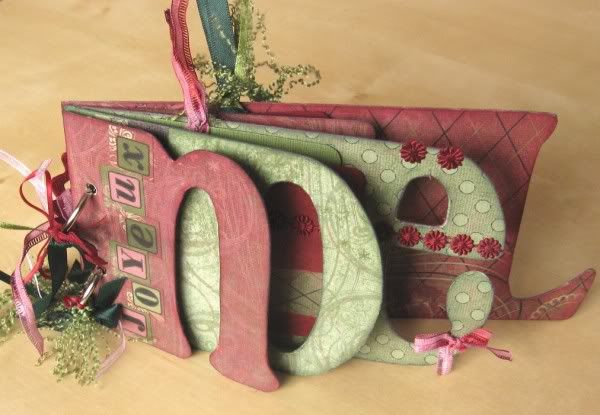
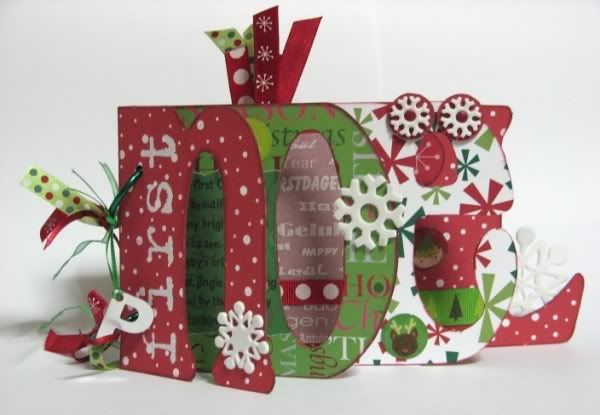
Over at the Counterfeit Kit Challenge Blog today* I've shared a couple of sketches for scrapping some of the many photos we'll be snapping this festive season.  If mini-books are more your thing then perhaps you'd like to give a home-made word book a try ...


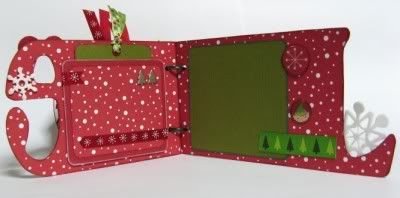
I made that one back in 2008 as a present for a friend's photos of her first grandson's first Christmas. I made another one a couple of years later to fill with quotes and festive photos as a family gift.  It had extra pages between the letters to allow for extra snapshots.


While I was making it I took step-by-step photos and put together a set of instructions - originally published in 2010 on UKScrappers, but you can download them directly here and see some more inside pages here.  The instructions are for the word "NOËL" but they are easy to adapt to "XMAS", "2013" or indeed any other word, long or short!  Let me know if you have a go!

Merry Christmas Everyone!!

* A slight scheduling faux pax on my part means that this post went live 2 days early - so that CKCB post isn't there until Christmas Eve! Sorry!
Saturday, 14 December 2013

Tagxedo New Year

Jimjams - Tagxedo Happy New Year cards Today over at the Counterfeit Kit Challenge Blog I have a post about making VERY quick Tagxedo New Year's cards

If you like Tagxedo as much as I do you may want to play around with it to produce something a little more complicated.

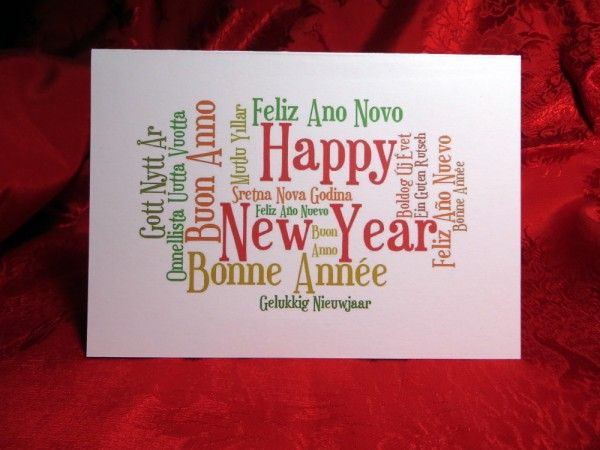
I searched for multi-lingual versions of "Happy New Year" and plugged them into Tagxedo to produce this multi-lingual card:

Jimjams - Tagxedo Happy New Year card

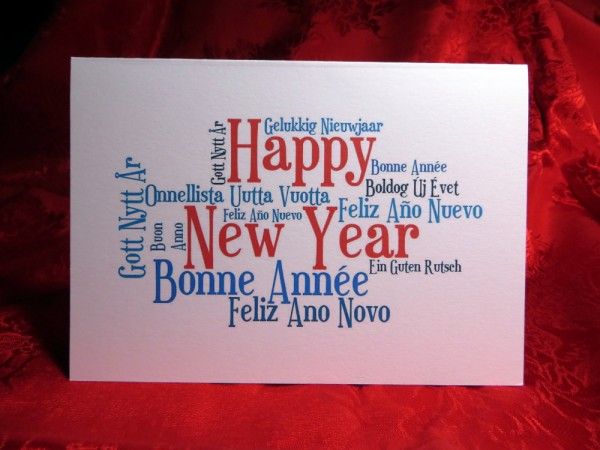
Ring the changes with a different colour-way and layout:

Jimjams - Tagxedo Happy New Year cards

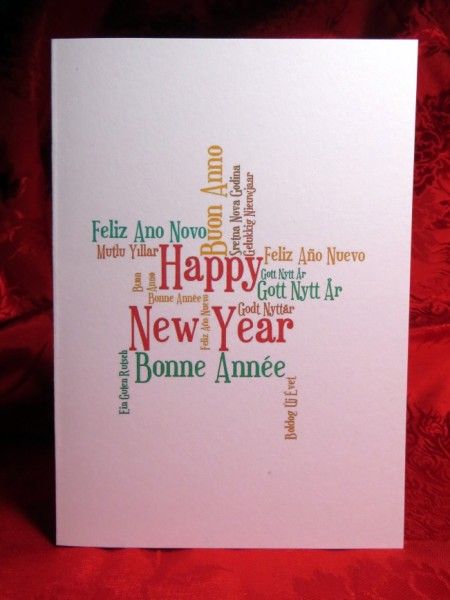
Or change the shape:

Jimjams - Tagxedo Happy New Year cards 

I used the following words for all three cards:
Gelukkig~Nieuwjaar Bonne~Année Buon~Anno
Ein~Guten~Rutsch Feliz~Ano~Novo Gott~Nytt~År
Feliz~Año~Nuevo Blwyddyn~Newydd~Dda Onnellista~Uutta~Vuotta
Mutlu~Yıllar Godt~Nyttår
Sretna~Nova~Godina Boldog~Új~Évet

Gelukkig~Nieuwjaar Bonne~Année Buon~~~Anno
Ein~Guten~~Rutsch Gott~Nytt~År
Feliz~Año~~Nuevo

Happy~~~New~Year:20:@0:#ff0000
The tilde (~) characters keeps associated words together, twice (~~) will stop them from being on separate lines, thrice {~~~) will force a line break.  The text in red is the RGB code to make the words "Happy New Year" appear in red!  The 20 forces "Happy New Year" to be the biggest phrase and the @0 apparently forces it to be horizontal (though I'm still not convinced)!

The other settings are the defaults apart from:
Respins:
Shape = Oval / Star
Theme = Pi Palette / Quiet Morning / Citrus Wasabi
Font = Euphorogenic
Orientation = H/V

Word:
Remove Common Words = No
Combine Related Words = No
Combine Identical Words = No

Layout:
Max Word Count = 50
Normalize Frequency = Yes
Hard Boundary = Yes
Allow Replication = No
You do need to respin the layouts and colours a few time to find a design you're happy with - but it doesn't take long to save, crop and print once you've found it.  Have fun!

P.S. Use this link to see all my Tagxedo card ideas 

Wednesday, 4 December 2013

Just The Ticket

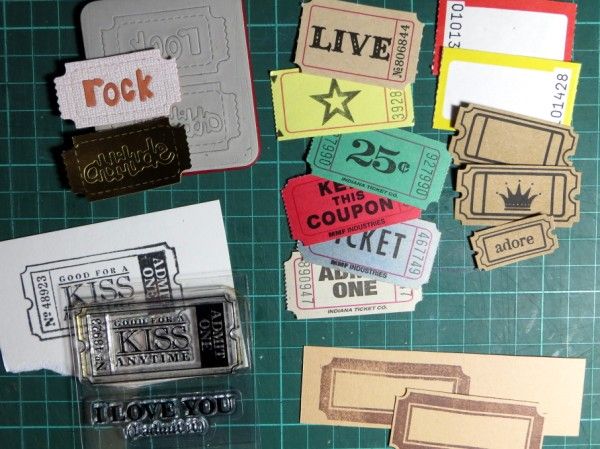
Jimjams - Tickets
There is Daily December Inspiration over at the Counterfeit Kit Challenge Blog at the moment and today it's my turn with a post all about embellishment clusters with tickets.

I adore the way you can include tickets in almost any embellishment cluster, adding a sentiment, a symbol, some colour or a date in a subtle way.

I've included some great links to digi & printable tickets over at the CKCB but I also wanted to include a quick & easy tutorial for making your own tickets from scratch over here.


Cut a strip of cardstock 1" (2.5cm) wide and add faint pencil lines it at 2" (5cm intervals).  Using a sewing machine with a large needle (but no thread), sew across the strip along these lines.  A needle, pokey tool, paper percer or tracing wheel will do the job too, but a sewing machine is quick!


Use a longer stitch lenth if you want to keep the ticket strip intact.  Use a shorter stitch length to make it easy to rip the tickets apart.


Using a hole punch take a semi circle out of each edge of the perforated lines.Some tickets have large holes punched half-way up the perforations as well (like the Maya Road adore ticket above).


If you want your tickets to have an inner frame then make a ¾" x 1¾" (2cm x 4.5cm) template to draw around.

Finally, have some fun decorating your tickets!