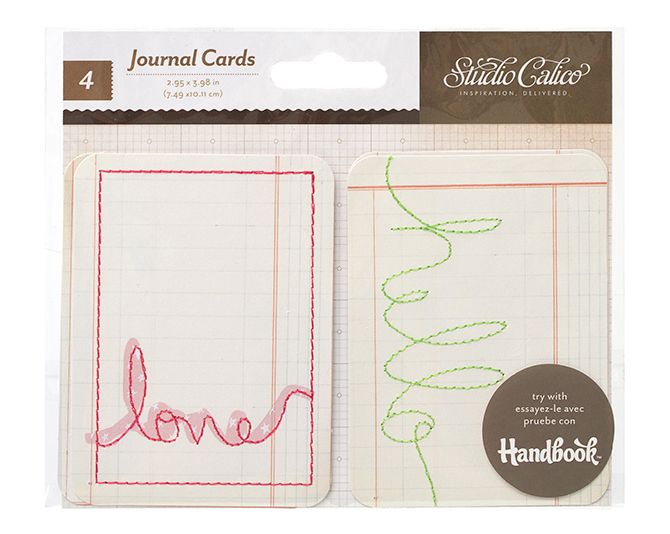
First off, I grabbed some scraps of ledger paper and cut them into rectangles that more or less matched some of the journalling cards in my March Counterfeit Kit. As I'm not a pocket page scrapper I wasn't too bothered by the exact dimensions, but if Project Life is your thing then you need to measure more carefully!
For my first card I lightly pencilled in the word "happy" in a cursive script, keeping to the ledger paper lines. I slowly, slowly machine-stitched along the pencil lines, exactly as I had drawn them, using a medium stitch length and stopping to rotate the card every few stitches. A hand sewing machine would be ideal for this. I alternated between careful pressure on my foot pedal and hand cranking! When my pencil line reversed direction so did my stitching and I was very careful to match up the stitch holes when over-sewing to avoid shredding the card: paper is not as forgiving of needle holes as fabric is!
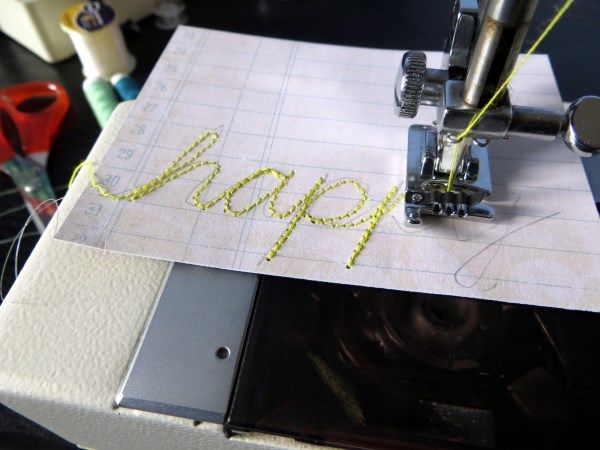 |
| Not my normal sewing foot: this one gave me best visibility of the pencil line ... I think it's actually for cording! |
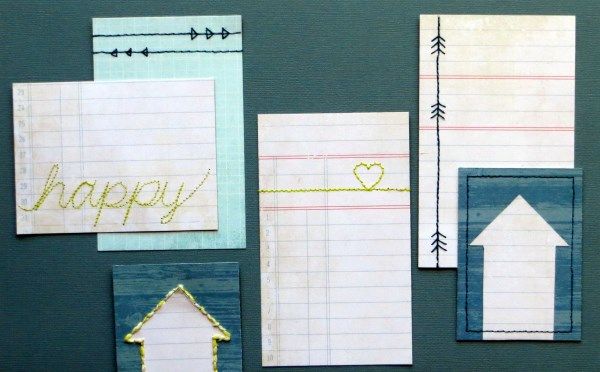
The next three cards were quicker and simpler: a longer length stitch for a straight line (or two) across each card. These lines were embellished by pre-piercing holes for triangles, a heart and arrow heads and then hand-sewing in the same thread (see photo below).
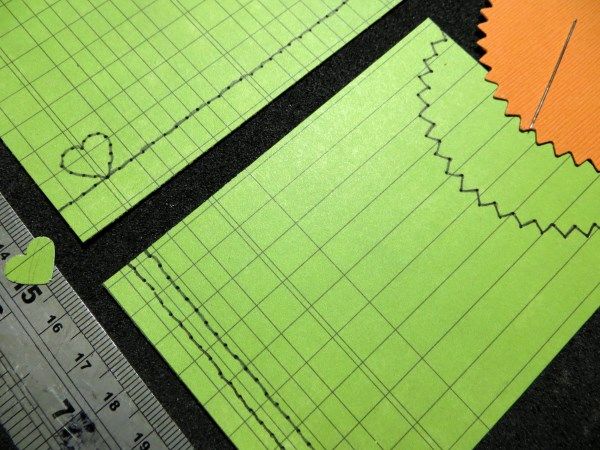
 My final card started wasn't a resounding success: I decided to add shaped ledger papers to patterned paper from my March Counterfeit Kit and wanted to stitch around the shape using twine from the kit. made stitch holes with my (un-threaded) sewing machine as that's quicker and more even than hand piercing.
Sewing with bakers twine started well, but as the twine got worn from travelling through multiple holes in the card, it started to fray ... and when I started filling in the stitches to make a solid stitched line, the card began to give way!
 |
| Not a good idea to sew with Bakers Twine :-( {Sewing with fibres is even worse!} |
Now of course you can go one step further and counterfeit the stitching as well. So in the order to be completely true to my post title, here are a couple of fully counterfeited, counterfeited stitched journalling cards:
Simply lay your card over an upturned mouse mat, pierce regular holes in a line/around a shape and fill in the gaps with a fine pen. I still prefer the real thing though!!
Lots more counterfeiting going on today at the CKCB - check it out!
14 comments:
These are brilliant...i've got some handstitching on a page going on at the moment x
Brilliant, I knew you'd be doing these! I took the easy option. Well done Jemma, look forward to seeing them on your projects :)
Both the 'real' and 'counterfeited' versions are lovely. I'm hoping the next work place has room for my sewing machine to be out.
Cute ideas and your great with a sewing machine too :)
I love that final tip! I have sometimes found that I end up with card which is falling apart when I stitch. I am most admiring of your Happy stitching :).
***clapping my hands***
These are totally wonderful!
Have you ever used a clear quilting foot? Great for when you have to see through...
Great counterfeiting.
Wow, my sewing machine wouldn't manage that so I do sometimes end up filling in with "holes and biro" - these are beautifully done
Brilliant Jemma! I love your tutorials and ideas. I've been trying to sew on card today but my machine didn't like it for some reason. Glad you had more success and I am in awe of your 'happy' sewing. That is so well done!!
As you know from my 'Ugly Jumper' layout I don;t 'do' sewing...but even I can manage paper pricking and line drawing! Thanks for a brilliant tutorial!
fabulous
I always love your paper sewing skills! The cards are lovely and I just know that I couldn't have stitched this well! Thanks for the inspiration
These look really cool Jemma - I will probably have a go at the faux stitched ones as I'm too lazy to get my machine out, but the real stitching does look gorgeous ... :o)xxx
They're fab! The machine stitched word has come out really well.
Post a Comment